Author "Eve Leliūgė" posts

May 30, 2018

NEW FEATURES for Wood/Metal Framing: Automated Rafters in Revit

There are two things you need to know about our software for framing timber and steel roofs in Revit.

FIRST, the roof framing solutions now include Truss+ (for truss structures) and Roof+ (for rafters & prefabricated roofs).

SECOND, creating rafter roofs automatically in Revit® models is much smoother and more intuitive than ever. Without further ado, let’s check out all the new features you can use!

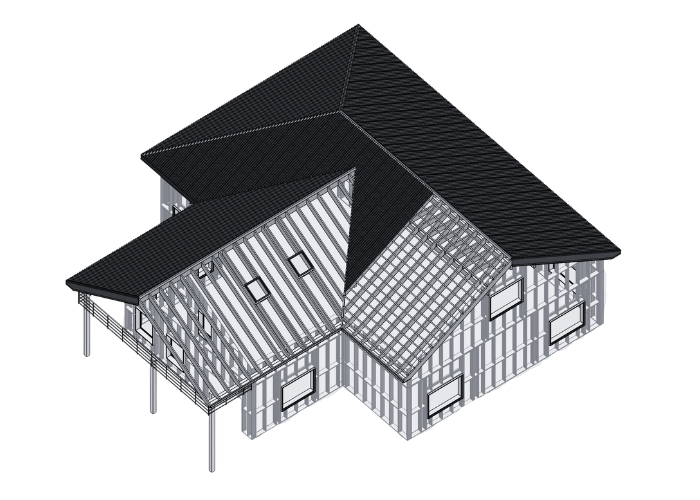
By way of overview, the rafter tool seamlessly automates the roof splitting and framing process: just split a roof by faces and then frame it with Roof + (Wood version, Metal version). This tool does it all: hip/valley rafters, ridges, girders, collars, battens, horizontal beams, sleepers, trimmers, etc. And let’s not forget that it automates the shop drawing process, including sorting, tagging, dimensioning, and scheduling all frames.

Read more »
April 10, 2018

How to Frame Wall Parts

When framing a prefabricated wall panel in Revit, the “Frame Parts” function is useful when you have parts of the wall that do not belong to the prefabricated panel, e.g., siding that will be built in place. Here’s a workflow showing how you can frame parts.

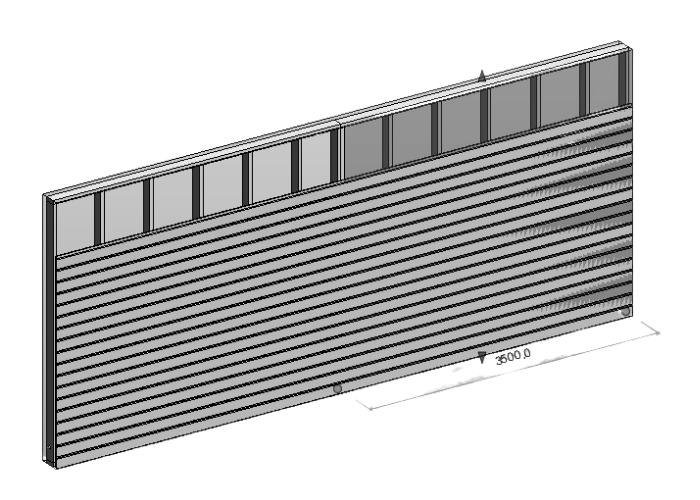
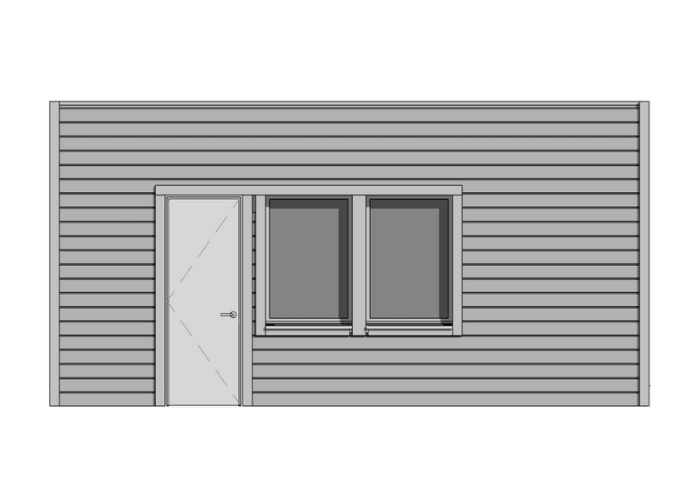
Above I have framed two wall panels, and I want the siding to be continuous and built in place. First, turn on parts visibility in Revit, and modify (as needed) the part that will be used for siding. In this example, I will just merge them:

Read more »
February 14, 2018

Sorting & Numbering Updates for Wood/Metal Framing

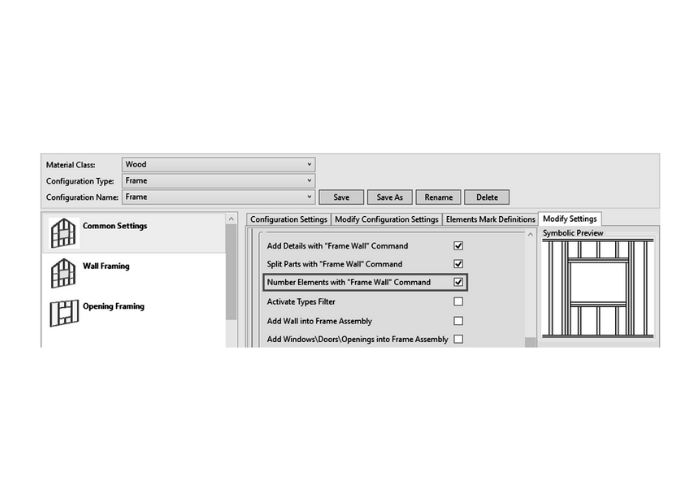
New versions of our Wood & Metal Framing software for Revit have been released! The improvements included in Wall+, Floor+, and Roof Panel Frame solutions let you easily sort and number walls, structural framing elements, and structural connection elements by your own specific rules configured via Sort Mark. Also, by using additional options you’ll be able to split parts and number elements at the same time as a wall is being framed — and update the details automatically!

In the enhanced versions, you’ve got these new functions in the “Shop Drawings” menu:

  • Numbering Setup – opens a window in which you’ll be able to set numbering rules for walls, structural framing, and structural connection elements by using functionality from the framing software and Sort Mark configurations
  • Number Walls – numbers all walls by the configuration, set in the “Numbering Setup”
  • Number Elements – numbers all structural framing and structural connection elements by the configuration, set in the “Numbering Setup”

In the “Numbering Setup” window, you’ll see two tabs: one for walls and one for numbering elements. In the “Numbering Setup” tab, you’ll be able to: (see corresponding numbers in the image below)

1.
Write Position for CNC Mark, Sort Structural Connections by Mark, and Sort Structural Framing either by Id, Mark, Assembly Name, or from Start to End.
2.
Sort and Mark Structural Framing Elements by chosen configurations (created with Sort Mark tool)
3.
Sort and Mark Structural Connection Elements by the chosen configurations (created with Sort Mark tool)
4.
Add Sort Mark Configuration Files’ Location, which, by default, is set to the same location as in the Sort Mark tool.
Read more »
November 16, 2017

NEW FEATURES for Wood & Metal Framing: Plate connections, Stud splitting, Siding alignment, and more

Before diving into the details of this update for our framing software, perhaps a little distinction is in order. Due to such frequent updates of our software, a common question always comes up: “Why is your software updated so often?” And we understand. After all, sometimes that little red dot shows up in the Dock more than twice a month!

TOOLS4BIM Dock OverviewThe reason for such a high frequency of updates is because we try to fulfill clients’ special requests as soon as possible. Instead of making a client wait a month or two until the next VERSION is released, we strive to implement their specialized requests as quickly as we can by frequently releasing software BUILDS. Of course, these BUILDS may also contain bug fixes – and we’re very grateful to clients when they help find these! – but rest assured that most often, that little red dot just means we’ve made one more client’s Revit dream come true.

With that said, let’s get into the new things you can do with your timber or light-gauge steel framing projects using the latest BUILDS of Wood and Metal Framing!

Wood Framing
Metal Framing Wall
Read more »
November 3, 2017

NEW FEATURES for Wood/Metal Framing in Revit: Modify Joined Openings, Split Studs and Joists, Add Sloped Custom Headers, and more

Once again, AGACAD has made some great changes to both its timber and metal framing software. So many in fact, it’s hard to know where to start! One thing’s for sure: they bring flexibility that’s geared toward making your work in Revit even smoother.

AGACAD's BIM Solutions for Timber Framing in Autodesk RevitAGACAD's BIM Solutions for Timber Framing in Autodesk Revit

Here are the headlines:

  • Load custom family catalog automatically
  • Use your custom headers for sloped openings
  • Modify joined openings
  • Split studs and joists
  • Calculate overall assembly dimensions
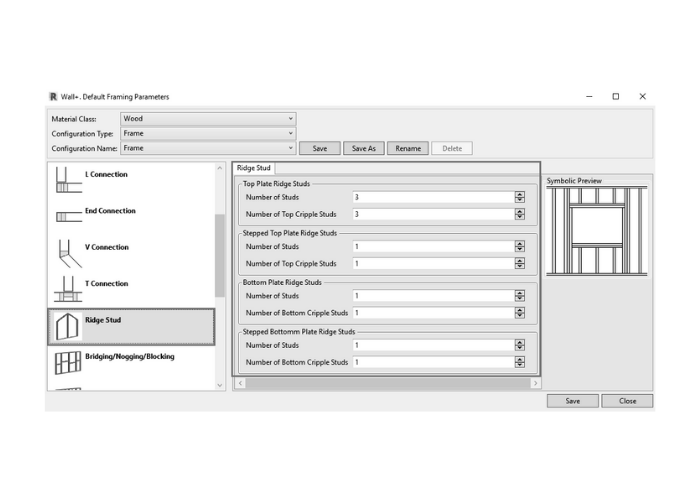
  • Control how ridge studs are added
  • Add filters to your configurations

For more on each of these features, read on!


Load your company’s family catalog automatically

From now on, you’ll be able to select your company’s family catalog to automatically load families into a project by simply adding the folder’s location after selecting “Load Families and Schedules”:

That way, your families will be loaded automatically, and you won’t have to go through the hassle of loading them manually. What a relief!

Read more »
October 5, 2017

NEW FEATURE: Sort Mark more flexible and intelligent than ever before

Sort Mark is a powerful tool AGACAD developed that can renumber graphical, architectural, and structural Revit® elements in many ways. It determines swing direction and orientation and adds them as properties, recalculates shared coordinates, and much more. While all that sounds great, it’s gotten even better with the latest release.

Remember Sort Mark? Now it will remember you!

In the latest version, you’ll be able to add a Configuration File’s Location. Read more »

September 22, 2017

WEBINAR: Prefabricated Timber/Steel Roof Panelling and Framing in Revit®

Ideal for: structural engineers, prefabricated roof designers and manufacturers. The first add-on of its kind for Revit®!


AGACAD’s unique software for Prefabricated Roof Panels is up for demonstration! Available for both wood and metal framing applications, this powerful tool seamlessly automates the roof paneling and framing process: begin with Roof Panel Layout to split a roof into panels, and then frame the panels with Roof Panel Frame (Wood version, Metal version). We invite all existing and potential Wood and Metal Framing users to attend this webinar.

Read more »

September 20, 2017

Wood/Metal Framing Enhancements – Bridging, Openings, Siding and more

We’ve made several updates in our Framing software to make your work in Revit® even smoother than before. Since we respond to real clients’ needs in releasing our software updates and there have been a lot of requests recently, the features that have been refined or added will have to be briefly described over a couple of blog posts. In the newest versions of our Framing solutions, you’ll find that adding additional bridging, modifying openings, and working with siding is more flexible than ever. And that’s not all…

Read on to see what gems may be found in the enhanced versions of Wood/Metal Framing Wall+, Floor+, and Roof+!

Choose which Structural Framing Families to Load

Previously, the function “Load Families and Schedules” automatically loaded all Main Families without question. Quite a lot of changes have been made in the Structural Framing families (which you’ll read about in this and subsequent blog posts), so from now on, you’ll have options to choose from in the “Select Family Catalogs for Loading” dialog:


Catalog Name:Loads:
Log FamiliesStructural Framing Log families
Main Familiesall
Structural Framing Main Families (previously loaded with “Load Families and
Schedules” functionality)
Norway SidingStructural
Framing Siding families used in Norway
Siding for Last
Configurations
Structural
Framing Siding Families used in all previous configurations (previously loaded
with “Load Families and Schedules” functionality)
Siding New for New
Configurations
new
Structural Framing Siding Families (read about changes in this blog post) that
will be used in all new configurations
Special (will be Deleted)special
(additional) Structural Framing families that previously could be loaded using
standard Revit functionality (they will be deleted in the 2019 version)

Increased Options for Siding

In the newest versions of our Framing software, you can use Vertical Siding families in your Horizontal Siding configurations, thanks to the “Rotate 180” possibility that has been added.

Newly-created siding families – which are included with the software update – will work for both Vertical and Horizontal siding configurations. All you have to do is tick “Rotate 90” and “Rotate 180” in the configurations for the Horizontal Siding.


Structural Material parameter vs. Type parameter

We’ve made a change to the “Structural Material” parameter in our Structural Framing families. Earlier, Robot software couldn’t read the Structural Material parameter value if it was created as a Type parameter, which is why it was created as an Instance parameter in our families.

Obviously, that wasn’t very convenient if you needed the Structural Material name to be displayed in your schedules – you had to change it from “Material by Category” to the desired material for every instance.

However, Robot can now read the Structural Material value even if it is created as a Type parameter, so we’ve modified the Structural Material parameter to be a Type parameter. Going forward, if you need the Structural Material name to be displayed in your schedules, you‘ll only have to make a change for each family type once. A HUGE chunk of time saved!

*Note: due to these changes, it will take a little longer to load the families into your project.


Add Multiple Bridging Elements Simultaneously

From now on you can add multiple Additional Bridging elements in the horizontal direction at once. Previously, you had to add them one by one, but that has changed since the “Use Short Noggings” option has been added. (It was already possible in previous versions to add elements in the vertical direction.)

Now, when using the “Add Additional Bridging/Nogging/Blocking” command, you just have to tick “Use Short Noggings”…

…and multiple elements in the horizontal direction (and, as previously, vertical direction) direction will be added:


Modify Openings

Another great enhancement is the ability to choose a different configuration in the “Modify Openings” dialog. The increased automation this feature brings will make modification of framing openings much faster and easier. In times gone by, if you had to make an identical change in multiple openings (say, modifying a header), then you had to make the modification and adjust all the associated parameters for each opening.

Luckily that has now changed, so you’ll be able to create the desired configuration and just apply it to other openings via the “Modify Opening” dialog.

As a result, the change will be made according to the chosen configuration for each opening you need to modify.


Calculate Element Mass

A new feature called “Calculate Framing Element Mass” now exists that automatically calculates not only the mass of each element in a framed assembly but also the mass of all the Built-in-Place elements as well.


Add a Virtual External Layer for Walls

If you use siding finishing/decorations – beware – you are going to like this! The new option to Add Virtual External Layers for Walls, which can be used for decorations, can be found in the newest releases of our Framing software.

From now on, you’ll be able to Add a Virtual External Layer for Exterior Walls and use it for siding finishing/decorations. There’s also an option for your Interior Walls as well that can be used for siding or door finishing/decorations.

All you have to do is toggle these marks on/off in the Framing Configuration – Modify Settings dialog…


…and you’ll see Virtual Layers in the Wall Link dialog:

This makes adding such elements much easier and user-friendly because complicated families will be avoided.


Whew! So as not to make this post too long, I’ll end it here. But just for now! There are a lot more enhancements that need time in the spotlight – stay tuned as additional posts are forthcoming.

For current users of our Framing software, we encourage you to download the updated software via your TOOLS4BIM Dock and try these features for yourself.


If you haven’t tried our Framing software yet, what are you waiting for? Download a free, 2- week trial via our TOOLS4BIM Dock today!


Personal Support to Secure Your BIM Benefits

The AGACAD team stands ready to work closely with you to ensure using TOOLS4BIM is always easy and effective. For less stress and more productivity. We value every client, striving sincerely to satisfy each one’s individual needs. Read more

For more information about Metal and Wood Framing software, check e-help in the TOOLS4BIM Dock and watch our webinars and getting-started videos.

CONTACT US with questions and to get personal support!

September 8, 2017

WEBINAR: ‘Template Project’ functionality for Framing in Revit!


Do your wood or metal framing Revit® projects require documentation? The latest enhancement of our Framing solutions will significantly decrease your documentation time for all your projects at once.

AGACAD has enhanced its Wood and Metal Framing software for Revit® by adding new functionality to meet the current needs of industry-leading clients. From now on, you will save even more time on documentation, as you will not have to create new shop drawing sheet templates in every project over and over again. Interested? Read on!

Read more »

August 1, 2017

Renumber hundreds of elements in Revit automatically

Everyone probably knows how tiring and time-consuming numbering elements in Revit can be, especially when you have hundreds or even thousands in a project. And what if you need to renumber them later? Or write values like door swing direction and orientation? There must be a way to do all of this automatically…

Luckily there is! AGACAD’s Sort Mark for Revit can do all that — and more!

The Sort Mark extension allows users to sort/renumber Revit elements in various ways and to add additional information to any selected elements. Sort Mark automatically sorts graphical elements (grids), architectural elements (doors, windows, rooms, etc.), and structural elements (columns, beams, etc.). The tool allows users to save specific localized sort and mark configuration settings for later use in the current project or a future one.

Read more »
1 2 3 4 5