There are two things you need to know about our software for framing timber and steel roofs in Revit.
FIRST, the roof framing solutions now include Truss+ (for truss structures) and Roof+ (for rafters & prefabricated roofs).
SECOND, creating rafter roofs automatically in Revit® models is much smoother and more intuitive than ever. Without further ado, let’s check out all the new features you can use!

By way of overview, the rafter tool seamlessly automates the roof splitting and framing process: just split a roof by faces and then frame it with Roof + (Wood version, Metal version). This tool does it all: hip/valley rafters, ridges, girders, collars, battens, horizontal beams, sleepers, trimmers, etc. And let’s not forget that it automates the shop drawing process, including sorting, tagging, dimensioning, and scheduling all frames.
Our roof framing solutions for wood & metal rafter structures tackle two major steps:
- Taking an architectural roof and turning it into panels by faces.
- Framing the panels.

Let’s look at both of those steps in more detail.
1. Dividing an Architectural Roof into Panels by Faces
All you need to do is use the ‘Split/Update Roof Panels’ command, and that’s it!


All roof panels can later be moved into new phases via their properties for better filtering and scheduling.
2. Framing
Once panels have been created, it’s time to frame them. (For those familiar with Wood/Metal Framing Wall+ and Wood/Metal Framing Floor+, the workflow is very similar.) Roof+ has all the features for predefining your own common framing, batten, and roofing configurations, sheathing creation, and shop drawings. Standardization and automation of the roof framing process and of shop drawings generation allows you to skip major hurdles in building design. Here are the prominent time-saving Roof+ functions.

- The framing configuration options allow you to predefine common joists, how openings are to be framed, edges, bridging, nogging, blockings, details, and more:

- The Rafter Configuration options allow you to predefine hip and valley joists, ridges, and girders:

Below are two results that I got from using slightly different configurations of ridge beams. Can you spot the differences? (Of course, other variations can also be created.)
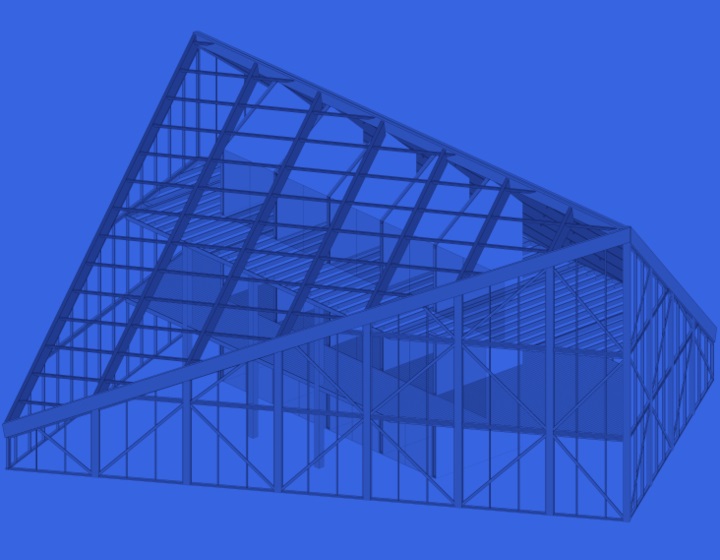
Result No. 1: Creating the rafter main frame on one of the roof slopes (using Wood Framing Roof+):

Result No. 2: Creating and aligning rafter and collar frames on all slopes with hip and valley rafters, as well as ridge beams for the rafter main frame:

To see the difference more clearly, let’s zoom in on the ridge beam. Notice how in both results, the joists are automatically cut:
| Result No. 1: Bevelled ridge aligned to the top | Result No. 2: Standard ridge added to the bottom |
 |  |
There are also lots of different modification options for the framing elements, each of which may be adjusted individually. Take for instance girder beams:
| Standard girder automatically cuts joists | Bevelled girder |
 |  |
Additionally, girders can be split by joists…

…and they can split joists:
| Girder splits joists perpendicularly | Girder splits the joists vertically |
 |  |
Connections and hardware are automatically inserted via predefined rules:
 |  |
You can also use Wood/Metal Framing Roof+ do the following:
- Insert insulation between rafters:

Here’s what it looks like:
 |  |
- Split parts for sheathing:

- Create a regular rafter system with battens:

- Cover with nice roofing…

…including, of course, hip, valley, and ridge caps, etc.


So, after turning an architectural roof into panels and framing the panels, there remains…
Documentation
Let’s talk shop drawings and schedules. With Wood/Metal Framing Roof software, drawings and schedules are produced almost instantaneously from the moment you frame your roof. Templates are so easy to make that you might even forget about this step! So, remember to check whether everything is up to spec at the end, tweak things if necessary, and your project is ready for delivery. There are a few different ways you can document your project. It just depends on the result you’re aiming for.
For example, you can create drawings from standard Revit views and use Roof+ to automatically sort, number, and dimension all structural framing elements…

…or, alternatively, you can create an assembly or detail views of individual roof slopes:

For producing drawings with all front/back/top/bottom views, sections, etc. of all individual joists and other members, I highly recommend using Smart Assemblies.
Hope you’ve enjoyed this overview of creating Rafter structures using our Wood/Metal Framing Roof+ software!
For current users of our framing software, be sure to download the updates, and don’t hesitate to contact support@agacad.com for assistance. And if you’re not a current user, what are you waiting for? Take a free trial by downloading our Agacad Dock