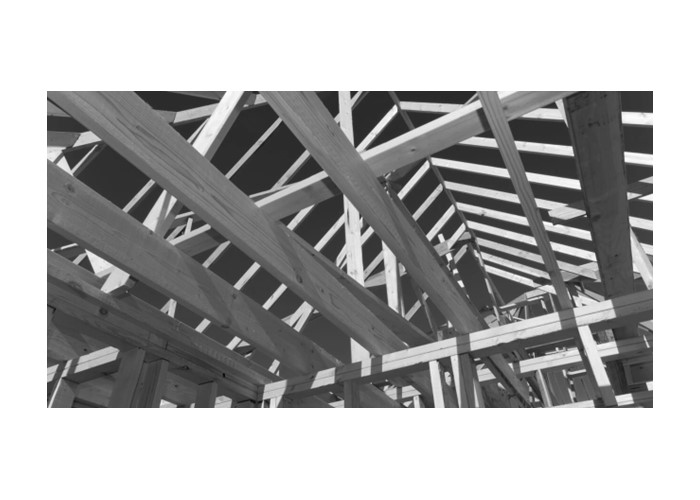
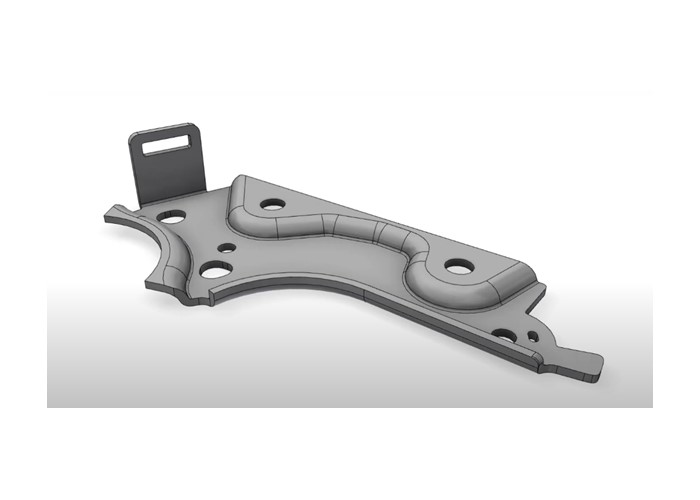
The latest edition of our newsletter AGACAD Advances has several items of interest, including the Japan installment of the Global BIM Survey we began last year and two client success stories focusing on wood framing in Revit.
Accompanying the launch of Smart Documentation, our newest add-on for Revit, we hosted a webinar to introduce the app to architects and engineers who want to complete drawings and schedules faster.
Since launching Smart Documentation, we’ve received a variety of questions about this toolset. So, we’ve decided to hold 3 specialized webinars in September: one geared toward architects, one for structural engineers, and one for MEP engineers.
In those webinars, we’ll show how you can generate 2D documentation from 3D models better, faster, and easier in Revit using Smart Documentation in each of those disciplines.
As we recently announced, our Wood Framing CLT add-in for Revit is available for the first time ever as a free trial.
To make using the software as smooth as possible, we developed an improved workflow for designing CLT walls, roofs, and floors. And we’ll be releasing a series of tutorials to make it even easier to follow along.
Without further ado, here’s the first tutorial. Stay tuned for subsequent CLT videos!
Reinforcement in Revit has several parameters (rebar number, type, diameter, etc.) that can be included in tags and used in documentation. But standards governing reinforcement marking are sometimes fancier than the options provided by Revit, so different add-ons are created to perform specific tasks. In this case, we’ll take a look at our Sort Mark tool, which has gotten some new options in the latest update that make making custom marks even easier.
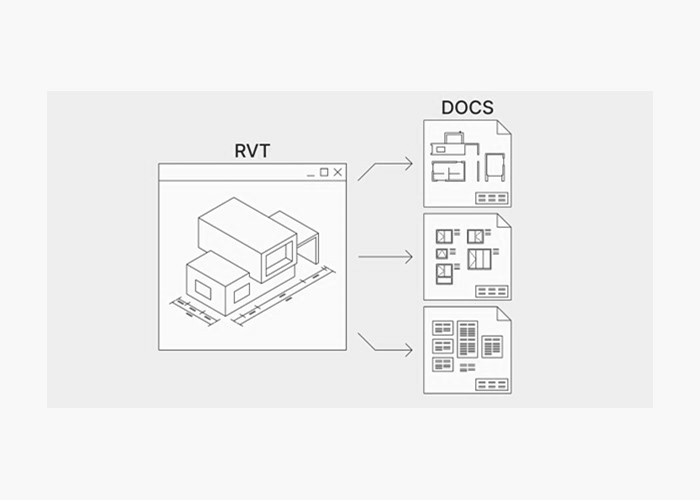
AGACAD, the developer of advanced technologies for building information modelling and management, is proud to introduce the first comprehensive BIM software for simplifying and automating the preparation of documents and drawings from Autodesk Revit models.
The new “Smart Documentation” toolset is the latest addition to AGACAD’s popular range of Revit productivity plugins and BIM solutions. It is intended for architects, structural engineers, MEP engineers, prefabricators and everyone in the building industry with responsibility for documentation.
“In fabrication and construction, everything hinges on the documentation. Building designers above all need to create drawings, schedules and so on. Most do so inefficiently, adding views and annotations one by one, losing a lot of time and risking errors. We developed Smart Documentation to fill the project documentation gaps in Revit, generating content quickly and accurately, at times replacing hours of drafting with just a few clicks,” says Donatas Aksomitas, the Managing Director of AGACAD.
For years, MEP Hangers has had an engine and interface similar to our Revit add-in for structural engineers, Smart Connections. Now, the time has come for MEP Hangers to have its own look and logic.
Check out the new features and graphical changes in the latest update of MEP Hangers. The tool that makes placing hangers and supports in Revit a breeze.
For current users
But before I cover what’s new, I want to start with a disclaimer for our current users:
The new MEP Hangers update is coming for Revit versions 2023-2020, and with the update all your configurations for hanger insertion and element splitting will be automatically converted with no backwards compatibility after being used or opened. It will be possible to access these configurations only with the latest version of MEP Hangers.
If you are using several versions of MEP Hangers and one of them is for Revit 2019 or lower, we would recommend making a copy and keeping it in a different location. Otherwise, you will need to recreate those configurations.
The same applies for company configurations saved on a server. If you’re using Revit 2020 or higher and you find your configurations not working, then someone in the office might be using the same configurations (probably located on a server) and has the latest version of MEP Hangers. To fix this, simply update the software, and it will be able to read those configurations.
Throughout the years we’ve been optimizing BIM workflows, one thing has not changed. 2D documentation and shop drawings are the final results that building designers and manufacturers need to put out for the prefabrication and construction processes to move forward.
As BIM becomes an integral part of the AEC industry and workflows quickly adapt to it, we still need to produce many documents and detailed drawings, whether plans, sections, elevations and other project data.
Communication in the industry still hinges on documentation and its precision.
As you may already know, the user interface of our Wood Framing CLT add-on for Revit was recently enhanced to make the workflow more intuitive and the UI overall easier to use.
What you may not know is that we are now making Wood Framing CLT available to trial for free!
That being the case, we want to make it as simple as possible for you to try out our CLT solution on your own. In this blog post, I’ll go through the basic steps to follow so that your use of the software is as hassle-free as possible.
Note: Since these instructions are meant to simplify testing of Wood Framing CLT, I have used our sample configurations and families throughout.
Just keep in mind that all these sample rules can be modified to your own needs and standards.
Creating schedules in Revit is a useful way to display information from your model and prepare documentation. Flexible and suitable for multiple construction sectors, schedules can be managed using tool functions to distinguish and highlight relevant data.
From a structural perspective, when information needs to be displayed graphically, Revit users can show rebar shapes as images in a Rebar Schedule. Creating rebar schedules in native Revit that contain certain rebar images is a tedious process, though, as a typical Revit model consists of rebar elements of many types and properties.
That’s why we made a new feature to automate the process of making rebar images. The function to ‘Create Rebar Images’ is part of our Smart Assemblies Revit add-on, and it offers several, easy-to-use options for creating rebar images with just a few clicks.
We’re pleased to announce that our BIM Solutions and Tools4Revit Add-ons are all ready to use with Revit 2023! Our BIM Application Engineers have tested the TOOLS4BIM DOCK against the latest Revit version to ensure complete compatibility.
Follow the instructions below to get our tools up and running in Revit 2023.
This site uses cookies - they help us provide you with a better online experience. By using our website you accept that we may store and access cookies on your device. | Privacy policy.
This website uses cookies to improve your experience while you navigate through the website. Out of these, the cookies that are categorized as necessary are stored on your browser as they are essential for the working of basic functionalities of the website. We also use third-party cookies that help us analyze and understand how you use this website. These cookies will be stored in your browser only with your consent. You also have the option to opt-out of these cookies. But opting out of some of these cookies may affect your browsing experience.
Necessary cookies are absolutely essential for the website to function properly. This category only includes cookies that ensures basic functionalities and security features of the website. These cookies do not store any personal information.
Functional cookies help to perform certain functionalities like sharing the content of the website on social media platforms, collect feedbacks, and other third-party features.
Performance cookies are used to understand and analyze the key performance indexes of the website which helps in delivering a better user experience for the visitors.
Cookie
Duration
Description
YSC
session
This cookies is set by Youtube and is used to track the views of embedded videos.
Analytical cookies are used to understand how visitors interact with the website. These cookies help provide information on metrics the number of visitors, bounce rate, traffic source, etc.
Cookie
Duration
Description
_ga
2 years
This cookie is installed by Google Analytics. The cookie is used to calculate visitor, session, campaign data and keep track of site usage for the site's analytics report. The cookies store information anonymously and assign a randomly generated number to identify unique visitors.
_gid
1 day
This cookie is installed by Google Analytics. The cookie is used to store information of how visitors use a website and helps in creating an analytics report of how the wbsite is doing. The data collected including the number visitors, the source where they have come from, and the pages viisted in an anonymous form.
Advertisement cookies are used to provide visitors with relevant ads and marketing campaigns. These cookies track visitors across websites and collect information to provide customized ads.
Cookie
Duration
Description
_fbp
3 months
This cookie is set by Facebook to deliver advertisement when they are on Facebook or a digital platform powered by Facebook advertising after visiting this website.
fr
3 months
The cookie is set by Facebook to show relevant advertisments to the users and measure and improve the advertisements. The cookie also tracks the behavior of the user across the web on sites that have Facebook pixel or Facebook social plugin.
IDE
1 year 24 days
Used by Google DoubleClick and stores information about how the user uses the website and any other advertisement before visiting the website. This is used to present users with ads that are relevant to them according to the user profile.
test_cookie
15 minutes
This cookie is set by doubleclick.net. The purpose of the cookie is to determine if the user's browser supports cookies.
VISITOR_INFO1_LIVE
5 months 27 days
This cookie is set by Youtube. Used to track the information of the embedded YouTube videos on a website.
Other uncategorized cookies are those that are being analyzed and have not been classified into a category as yet.
Cookie
Duration
Description
_gat_UA-31494903-2
1 minute
No description
CONSENT
16 years 9 months 23 days 15 hours 6 minutes
No description
cookielawinfo-checkbox-functional
1 year
The cookie is set by GDPR cookie consent to record the user consent for the cookies in the category "Functional".
cookielawinfo-checkbox-others
1 year
No description
sdPuqGtW9arY0QIG8N7sDVCbqLPXXjtZxY6IKhN2kPU
No description
FREE WEBINAR | 9 easy steps to faster project documentation in Revit. 3 separate sessions for architects, structural engineers, MEP engineers. September 6-8REGISTER NOW »