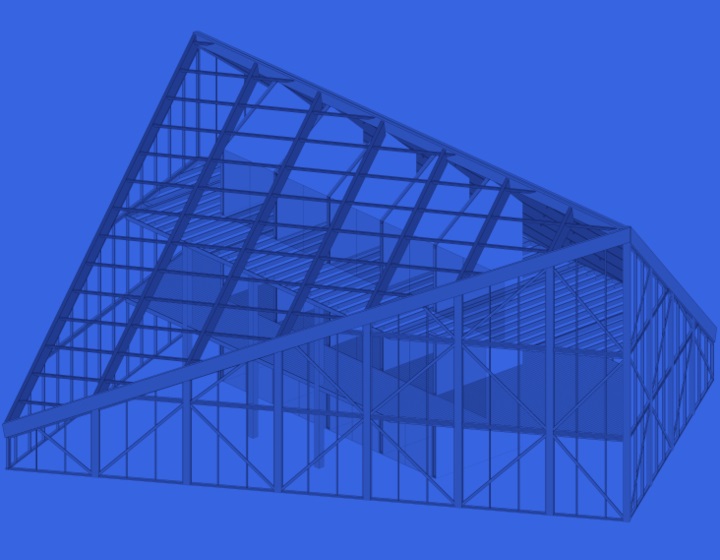
When framing a prefabricated wall panel in Revit, the “Frame Parts” function is useful when you have parts of the wall that do not belong to the prefabricated panel, e.g., siding that will be built in place.
Here’s a workflow showing how you can frame parts.
Turn on parts visibility

Above I have framed two wall panels, and I want the siding to be continuous and built in place. First, turn on parts visibility in Revit, and modify (as needed) the part that will be used for siding.
In this example, I will just merge them:

You can also write a framing configuration name for that part in the “Framing Configuration” parameter:

Frame parts
Second, in the Wall Link dialog, tick “Frame Parts” for that layer:

Modify configuration
Third, in the Framing Configuration, we need to modify the siding configuration that will be used so that all elements will be built in place. This way they won’t be included in the Frame Assembly. For the “Built in Place” setting, just add a randomly high number of siding rows (because we want all of them to be built in place):

Add siding
And fourth, going back to the original view, select the part and use “Add Siding”.
As a result, you’ll have split wall panels (with the main frame, nailers, and so on) and a separate, built-in-place siding layer that is not split or can be split differently (I’ve deleted a few siding strips for presentation purposes):

I hope that helps in situations where you need to frame built-in-place wall parts!


