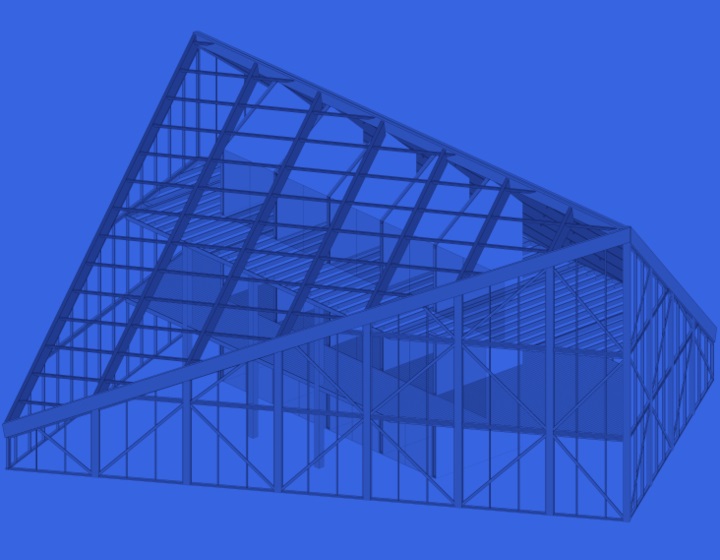
Once again, AGACAD has made some great changes to both its timber and metal framing software. So many in fact, it’s hard to know where to start! One thing’s for sure: they bring flexibility that’s geared toward making your work in Revit even smoother.
Here are the headlines:
- Load custom family catalog automatically
- Use your custom headers for sloped openings
- Modify joined openings
- Split studs and joists
- Calculate overall assembly dimensions
- Control how ridge studs are added
- Add filters to your configurations
For more on each of these features, read on!
Load your company’s family catalog automatically
From now on, you’ll be able to select your company’s family catalog to automatically load families into a project by simply adding the folder’s location after selecting “Load Families and Schedules”:

That way, your families will be loaded automatically, and you won’t have to go through the hassle of loading them manually. What a relief!
Use custom headers and sills for sloped openings
Not long ago, we unveiled the [totally awesome!] feature to create your own custom headers and sills. And now, it’s even better because custom headers and sills now work with sloped openings. You just have to use a special family “M_Wall_Frame Sloped_Rotated Header” for creating them, and it‘ll work like a charm.


As a result, you‘ll see your header placed on normal openings as well as sloped openings.
Configuring and modifying joined openings
 There are now two ways to frame joined openings:
- by the widest element’s configuration (be it a window or door), as in the past, OR
- if you just tick “Select Configuration by Full Width of Joined Opening”, it will read the total width of all joined openings and use the configuration that fits that range.

What’s more, new functions for modifying Joined Opening Framing have been added, which can be found in the “Modify Frames” menu:

Split studs and joists
The possibility of splitting multiple Studs/Joists has been added. In order to do this, just tick the “Split Studs/Joists” box in the Additional Bridging/Nogging/Blocking configuration dialog:

The studs or joists will be split in the additional element’s position. You can also use invisible elements for this.
Furthermore, later on you can automatically add joist supports, including connection elements and details:

Calculate overall assembly dimensions
You can find this convenient function in the Shop Drawing menu:

You’ll see the Depth, Length, and Height values in the instance properties of the assembly.
More control over ridge studs
Additional functionality for Ridge Studs has been added in the Framing Configuration. Now, you’ll be able to control how many ridge studs are added in different situations.
For example, I’ll add 3 Studs and 3 Top Cripple Studs for “Top Plate Ridge Studs” and add a single element in all other situations, just to see the difference:

…and SHAZAM! The proper number of studs are added in each location.

Filter your framing families
And last but not least – filtering has been added in the Framing Configuration menu. You’ll be able to filter specific framing families and types needed for each configuration.
First, you have to tick the “Activate the Types Filter” box:

And then, you’ll be able to set the criteria by which you want to filter. For example, I’ll filter framing families by their width (b):

As a result, I won’t see framing families that I don’t need in my Framing Configuration:

New to AGACAD? Welcome and thanks for reading! We offer a lot of solutions that make your life in Autodesk® Revit® easier – from Wood & Metal Framing to MEP to Precast to element and family management.
You’re welcome you to take a free trial of any of our BIM solutions! Just download the Agacad Dock below for your version of Revit. Then, open Revit, and select the tool you’d like to try out!
Personal Support to Secure Your BIM Benefits
The AGACAD team stands ready to work closely with you to ensure using TOOLS4BIM is always easy and effective. For less stress and more productivity. We value every client, striving sincerely to satisfy each one’s individual needs.
For more information about our software, check e-help in the Agacad Dock and watch our webinars and getting-started videos.


