Imagine you’re working on a big project, and you notice that some Revit® elements that had been modeled a few hours or days ago are missing.
That can happen on work-shared projects when team members don’t own worksets, and everybody can edit anything. So, it can sometimes happen that someone might accidentally delete someone else’s elements.
To transfer the missing elements, you need to find a backup file where the elements are still in their place, or a local copy of the project that wasn’t synchronized with the central file for some time – and has the missing elements in it.
Now you have to open both projects in Revit. The best way to transfer elements is in plan views, so in both projects activate same-level plan views. Mark the elements in the project where they are still in their place (you can use right click and Select All Instances → Visible in View or just select all and filter the required elements).
Note that you don’t need to select hosts for host based elements, if the host hasn’t been deleted in the more recent project.
After selecting elements, press Ctrl+C on your keyboard. Now switch to the project where your elements are missing. In the Modify tab, choose Paste → Aligned to Current View.
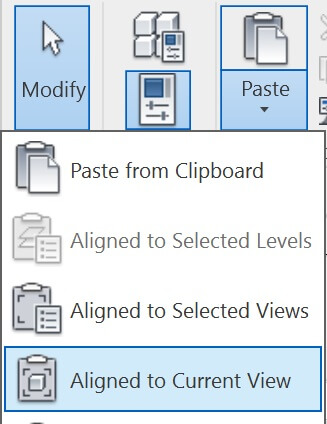
The elements should be placed in the exact same places. Now you have to go to each plan with missing elements and repeat these steps.
If you need to copy Annotation elements (dimensions, tags, etc.), then you need to choose Aligned to Selected Views and tick the needed views. You can also do the same in 3D view with all elements at once, but there is a risk of losing some elements. If you want to transfer elements through 3D views after selecting and coping elements, you need to choose Aligned to Selected Levels and choose only one level of the lowest selected element. Elements will be placed starting from the bottom.
I hope this Revit tip will help you avoid some headaches!
Going further
In addition to sharing knowledge, insights, and best practices, at ARKANCE we specialize in developing plugins that eliminate repetitive tasks. Because the right tools coupled with effective workflows streamline the designing, modeling, detailing, and documentation of building projects.
We build a lot of automation into our products, based on consulting Revit users and finding out what could improve their productivity the most. It’s part of what we like to call “enabling innovation together”.
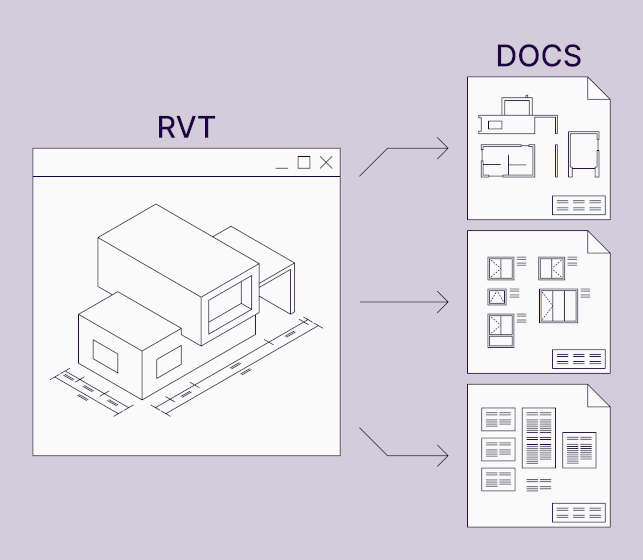
Industry solutions like Wood Framing, Metal Framing, and Precast Concrete and everyday plugins, such as Smart Browser, Smart Documentation and others were made with Revit users like you in mind. Those last two – Smart Browser and Smart Documentation – are available to try for free as part of our Be.Smart Core Collection.
If you enjoyed this topic, you might check out how to transfer views, family types, elements, etc. between different Revit® projects.