Grout tubes are used in the construction of precast concrete buildings for connecting elements like walls, tilt-up panels, beams, and columns. They’re also known as grout ducts or sleeves. The way it works is a starter bar (also known as a lap bar or dowel) is precast in one element, say, a wall panel, and then on site that dowel slides into a sleeve that was precast into, say, another panel. The sleeve – typically made of plastic or corrugated steel – is then filled with concrete to form a connection between the wall panels.
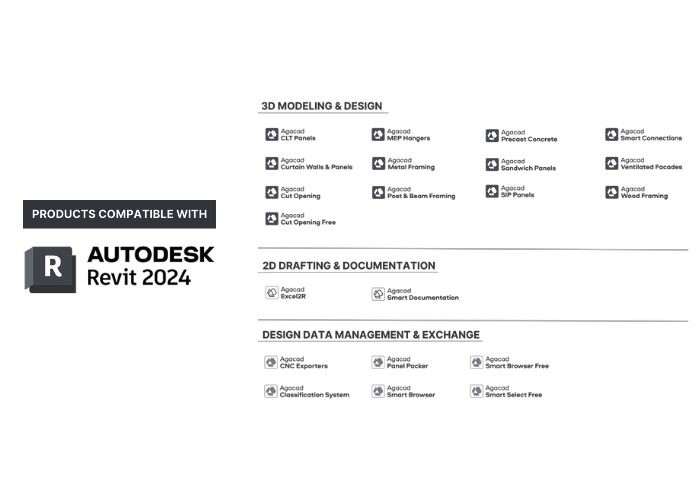
Since precast designs can contain quite a lot of grout tubes, placing them is certainly worth automating. That’s where the Smart Connections feature of our Precast Concrete BIM Solution for Revit comes in. It has options that you can configure so that grout tubes will be placed in walls automatically, reducing the amount of time you need to spend on repetitive, manual tasks.
Here’s the workflow that I would recommend. Steps are also laid out below the video.
In this free 30-minute webinar we’ll show how to model rebar for precast walls in Revit automatically using the Wall Reinforcement tool that’s a feature of our signature Precast Concrete design software. Sign up and save your seat for March 4th!
Modeling reinforcement in precast and in-situ walls in Revit is time-consuming, so to make it easier we developed the Wall Reinforcement addon. It’s part of our Precast Concrete BIM Solution, which streamlines the whole design process based on the workflows and insights of precast experts around the world – and eliminates myriad mouse-clicks in the process.
The Wall Reinforcement tool can place external and internal reinforcement, straight and diagonal bars, stirrups around openings and perimeters, plus reinforcement for wall corners. The tool will recognize the shape of the wall and place rebar based on the configurations you set. If you have a sandwich or double wall, you can apply different rebar settings for the respective layers of the wall.
You can model strands like in the USA, perimeter rebar as in Australia, seismic joints as in Dubai, and sandwich walls as in Norway. So, come and join the webinar to start modeling real rebar in your Revit projects.
Walls can be connected in different ways, depending on the country and type of wall, whether it’s precast or cast-in-place. It takes quite a lot of time to model connection bars for walls in Revit, so we went ahead and automated it based on examples that some of our clients from seismic regions sent in.
This new update for our Wall Reinforcement tool lets you define how rebar should be placed at wall corner connections, so it eliminates the task of modelling those connections manually. One more reducer of BIM stress, right there. Use it on cast-in-situ or precast concrete walls. Here‘s a quick look at what you can do now for wall corners automatically.
We recently received a question from a client in Australia regarding how to use our Precast Concrete solution for Revit to model different types of wall joints, specifically shiplaps. The Smart Connections feature of Precast Concrete automates this process by placing Revit families according to the configurations set by the user. The families can contain any solids or voids to cut the walls and get them into the right shapes or place connection elements.
In the steps below I show how to create a shiplap joint in a bunch of precast panels all at once using Smart Connections. A similar workflow could be applied to automate the creation of different types of groove joints that are often used by precasters in wall panels too. Because we’re so focused on reducing BIM stress, we make it easier for BIM modelers to get the job done simply and quickly.
A year has passed since Tokyo-based M&F tecnica became AGACAD’s exclusive partner for sale and support of our solutions for BIM in Japan, and good things are happening in the country. Strong interest there in our Revit add-ons to automate 3D design and documentation is set to grow even more now that, with M&F’s help, they’ve been translated into Japanese!
“This partnership is yielding excellent results, strengthening AGACAD’s ability to ensure excellent service for clients in Asia and thus share BIM advances there as well,” AGACAD Managing Director Mr Donatas Aksomitas says. “M&F, who have been pioneers of BIM in Japan and Revit experts, are now experts also in AGACAD’s solutions based on the insights of top BIM professionals. Thus they are helping clients unlock even more of the immense value of modern building information modelling and management.”
In this free 45-minute webinar we’ll show how to insert connections automatically in Revit for different precast elements using the Smart Connections tool that’s a feature of our signature Precast Concrete design software. Sign up and save your seat for February 11th!
Do you routinely spend inordinate amounts of time placing grout tubes, lifting embeds, anchors, plates, connection loops, diagonal ties, and cuts in your precast designs? If you do, then you might be interested to know that all those elements and more can be placed automatically using our Precast Concrete BIM software. It’s one of those ways we help bring BIM to life by eliminating tasks that do not create value. (#reducingbimstress)
Our Precast Concrete solution lets you set line- and point-based families on faces of columns, beams, walls, floors and other elements. The configurations you create can be shared with colleagues, used in other projects, modified and updated anytime, automating much of your daily workflow as an AEC professional. Register below and see it in action.
We recently received some questions from a client about our Beam Reinforcement tool, which is part of our Precast Concrete BIM Solution for Revit. It has lots of options for creating main reinforcement and stirrup layouts with different settings for rebar types, hooks, shapes, covers, etc. So questions are warmly welcomed. Let’s take a look under the hood.
With the Beam Reinforcement add-on, you can define as many stirrup groups as you want. Type, shape and layout rules can vary for each of them.
Who wants to spend less time getting shop tickets just right in Autodesk® Revit®? Who doesn’t! Join our free 45-minute webinar on January 21st, during which we’ll show how to create shop drawings automatically in Revit using the Smart Assemblies addon that is part of AGACAD’s Precast Concrete BIM Solution.
Some new features have been added to our Wall Reinforcement tool that‘s part of our Precast Concrete BIM Solution for Autodesk® Revit®. The tool automates modeling and placing rebar in precast walls, and the latest updates make it more flexible. Let‘s go through each of the new features.
Equal spacing option
An additional spacing option – Equal – has been made for main rebar layout and stirrup layout for openings and perimeter. If you select ‘Equal’, then the start and end layout distance will be the same and will fall somewhere between the ‘Distance’ and ‘Spacing’ values.
A lot has gone down in the past 6 months: new tools, fresh user interfaces, and the busiest webinar season we’ve ever had. All that and more in the latest edition of our newsletter AGACAD Advances.
This site uses cookies - they help us provide you with a better online experience. By using our website you accept that we may store and access cookies on your device. | Privacy policy.
This website uses cookies to improve your experience while you navigate through the website. Out of these, the cookies that are categorized as necessary are stored on your browser as they are essential for the working of basic functionalities of the website. We also use third-party cookies that help us analyze and understand how you use this website. These cookies will be stored in your browser only with your consent. You also have the option to opt-out of these cookies. But opting out of some of these cookies may affect your browsing experience.
Necessary cookies are absolutely essential for the website to function properly. This category only includes cookies that ensures basic functionalities and security features of the website. These cookies do not store any personal information.
Any cookies that may not be particularly necessary for the website to function and is used specifically to collect user personal data via analytics, ads, other embedded contents are termed as non-necessary cookies.