BIMAXON ICS Extensions
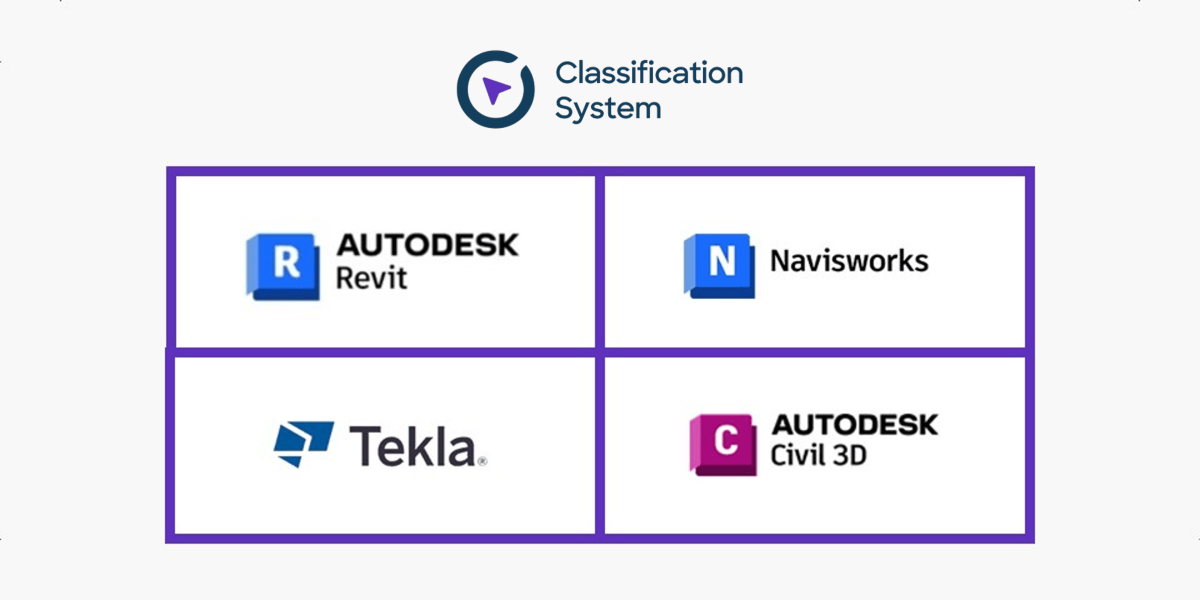
If you want to classify a project created in Revit, Civil 3D, Navisworks, or Tekla, please download the respective extension below. ↓
First, download the TOOLS4BIM Dock. It lets you access and manage all AGACAD products on your workstation, whether you’re taking a trial, activating a license, or making a purchase.
After installation is complete, launch Revit and open any project. In the Revit ribbon, select the ‘TOOLS 4 BIM’ tab, ‘All Tools’ tab, and find BIMAXON ICS:

Trial Activation Instructions
1. Click ‘Start trial’.
2. Complete the form.
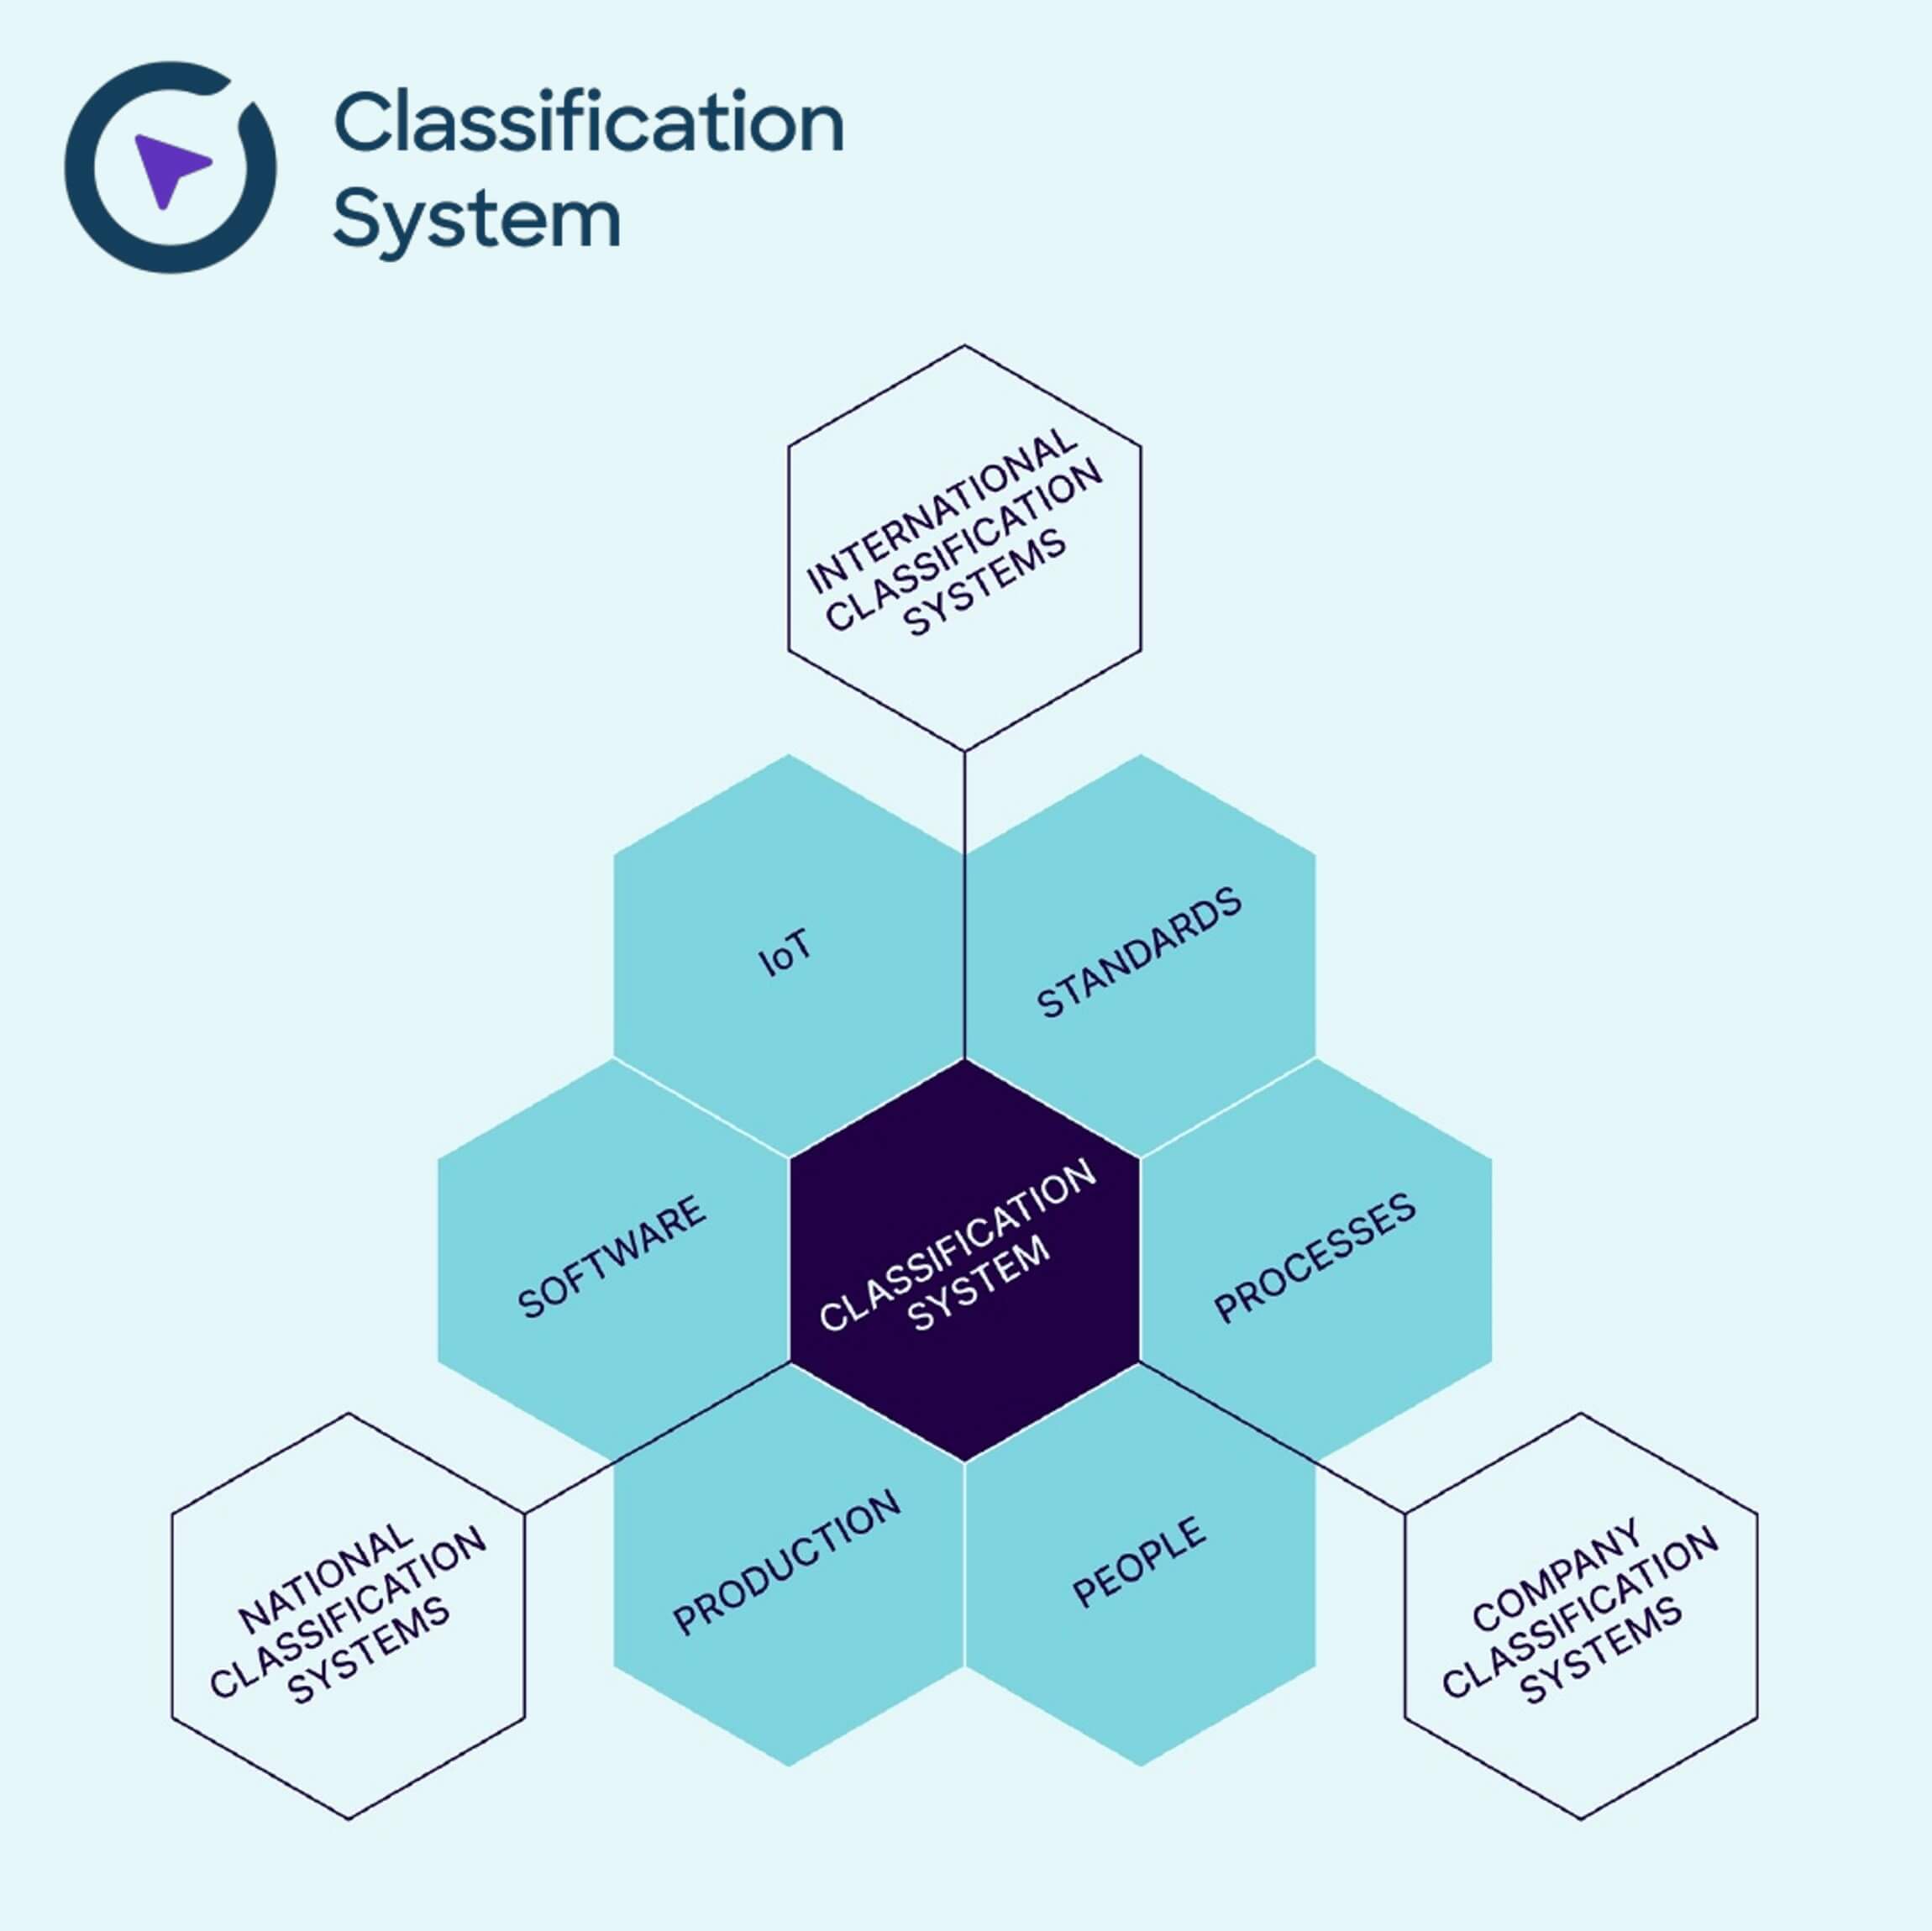
3. Be sure to select your country so that you will get connected to international classification standards and the relevant national standards (if applicable).

4. Click ‘Get trial code’.
5. Click ‘Yes’ to initiate the installation process.

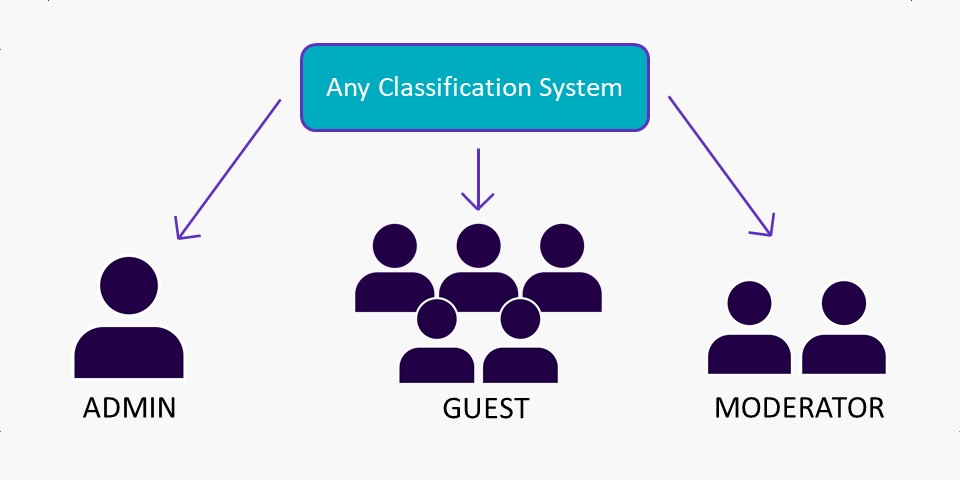
6. Login information will be sent to your email. This login is created under Guest rights in the BIMAXON ICS platform. Users with the role of Guest can log in to ICS and review classification systems added or created by Administrators and Moderators. Guests can also assign classification to the BIM objects in Revit.

Login to BIMAXON ICS
1. Open BIMAXON ICS. You’ll find it under the ‘BIMAXON’ tab in Revit. Click the BIMAXON ICS icon to get started.
2. Connect to the BIMAXON ICS server.
3. Enter your login details from the email.
4. Check ‘Remember me’ if you wish to store login details, and then click the Login button.

BIMAXON ICS getting started
Get started with BIMAXON ICS for Autodesk® Revit® here:
First, choose the right version and download the .msi installation file:
Language options are English and French. Czech is coming in the near future.
Double-click the installation file to start the setup process. Then, just follow the instructions in the installation wizard to complete the installation.
After installation is complete, launch Autodesk Civil 3D and open any project.
- Go to the ‘BIMAXON’ tab.
- Select the ‘BIMAXON ICS’ dockable window to open it.
- Connect to the BIMAXON ICS server by clicking ‘Login’.
- Enter your login details (for the login details, please contact helpdesk@agacad.com).
- Press ‘Login’.

- Choose a workspace which is assigned to your account.
- Choose a classification system.
- Select a table in that classification system.
- Browse the tree structure to find the class you are looking for and select it.
- At this point you have three options:
a) You can create a new property manually by entering the name.

b) You can select a property from the BIMAXON property list by clicking the ‘ICS’ button.

c) Or you can select an existing property from the drop-down list.

6. The Value text field allows you to create different types of property values.
7. Auto-numbering will start from the number entered in the ‘Autonumber start at:’ field.
8. Define pattern for the final value result. Read more in the Value Pattern E-Help >>
9. Click the ‘Set’ to set the values for your selected elements. Result can be found under Properties ” Extended Data ” BIMAXON.
NOTE! Elements must be selected before adding a new property and value.


First, download the .msi installation file:
The language is English. French, Czech languages are coming in the near future.
Double-click the installation file to start the setup process. Then, just follow the instructions in the installation wizard to complete the installation.
After installation is complete, launch Navisworks and open any project.
- Go to the ‘View’ tab.
- Expand the ‘Dockable Windows’ list.
- Select the ‘BIMAXON ICS’ dockable window to open it.
- Connect to the BIMAXON ICS server by clicking ‘Connect to BIMAXON ICS’.
- Enter your login details (for the login details, please contact helpdesk@agacad.com).
- Check ‘Remember me’ if you wish to store login details, and then click the Login button.

- Choose a workspace which is assigned to your account.
- Choose a classification system.
- Select a table in that classification system.
- Browse the tree structure to find the class you are looking for and select it.
- At this point you have three options:
a) You can create a new property manually by entering the name.

b) You can select a property from the BIMAXON property list by clicking the button.

c) Or you can select an existing property from the drop-down list.

6. The Value text field allows you to create different types of property values.
7. Auto-numbering will start from the number entered in the ‘AutoNumber Start at:’ field.
8. Define pattern for the final value result. Read more in the Value Pattern E-Help >>
9. Click the ‘Set’ to set the values for your selected elements. Result can be found under Properties ” BIMAXON.
NOTE! Elements must be selected before adding a new property and value.


To begin, download the .msi installation file:
For the login details, please contact helpdesk@agacad.com.
Visit the BIMAXON platform, where you will find a variety of classification standards.
If you don’t have login details, please fill the form: