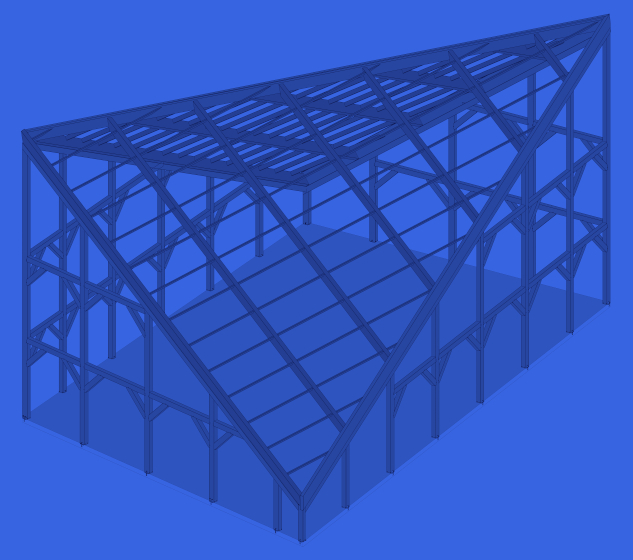
The user interface of our Post & Beam Framing add-on for Revit has been enhanced! The commands are now in a single ribbon and arranged so that the workflow is more intuitive and the UI overall easier to use.
This major new release is part of our ongoing quest to help optimize your work and reduce time spent on manual Revit tasks.
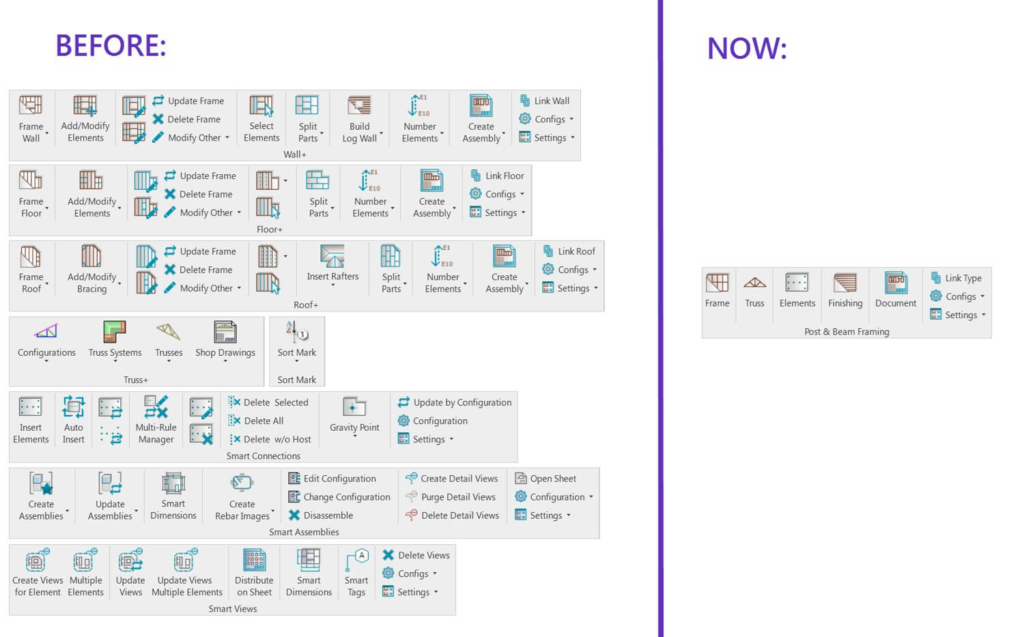
As you can see in the before-and-after image below, it was previously necessary to open separate Revit tools – like Wall+, Floor+, Roof+, Truss+, Smart Connections, Smart Assemblies, Smart Views – to access the needed functionality.
With the new release, that’s no longer the case. All functions are in a single compact ribbon, conveniently arranged according to the recommended workflow.
Speaking of the recommended workflow, you can follow along in our webinar (Oct 2023).
And now for a tour of the renewed ribbon.
New ribbon and sub-menus
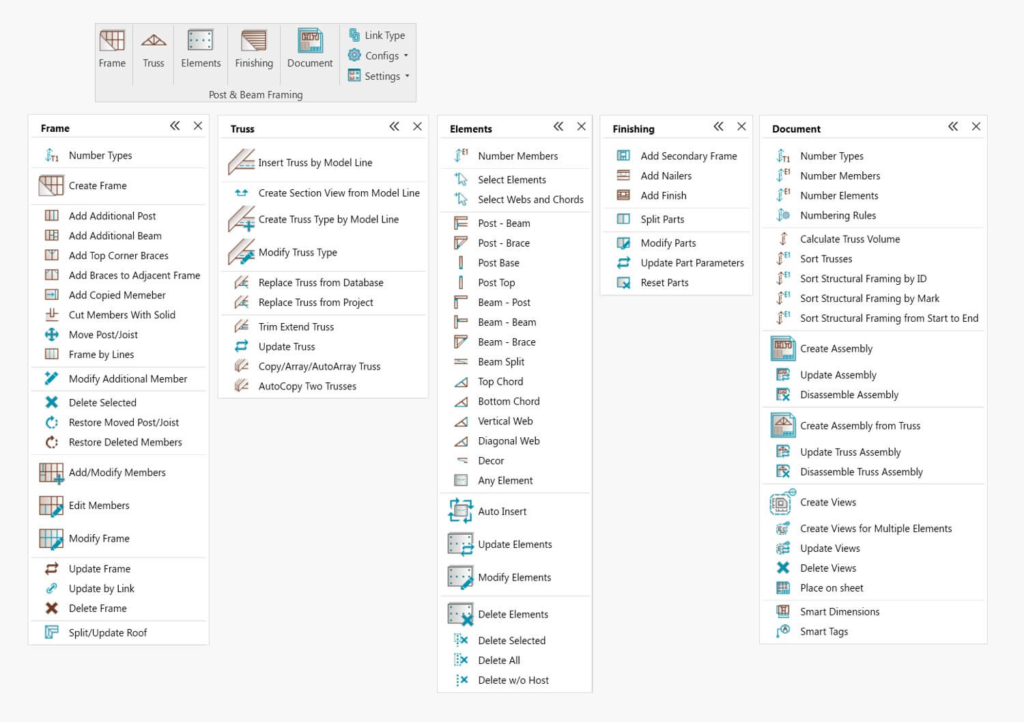
In the ribbon, there are eight top-level functions: Frame, Truss, Elements, Finishing, Document, Link Type, Configurations and Settings. Here is what each of those is for.
| Frame | For modeling heavy timber structures |
| Truss | For creating trusses |
| Elements | For creating connections common in heavy timber design |
| Finishing | For creating additional finishing layers (Secondary Frames, Nailers, etc.) |
| Document | For numbering elements and creating shop drawings |
| Link Type | For creating links for walls, floors and roofs |
| Configs | For creating/modifying rules for modeling, numbering, dimensioning, etc. |
| Settings | For loading families, browsing configuration files’ locations, and transferring element types and standards. |
For the first five – Frame, Truss, Elements, Finishing and Document – you can open a floating window to access more commands. Hint: minimize the windows to save working space.
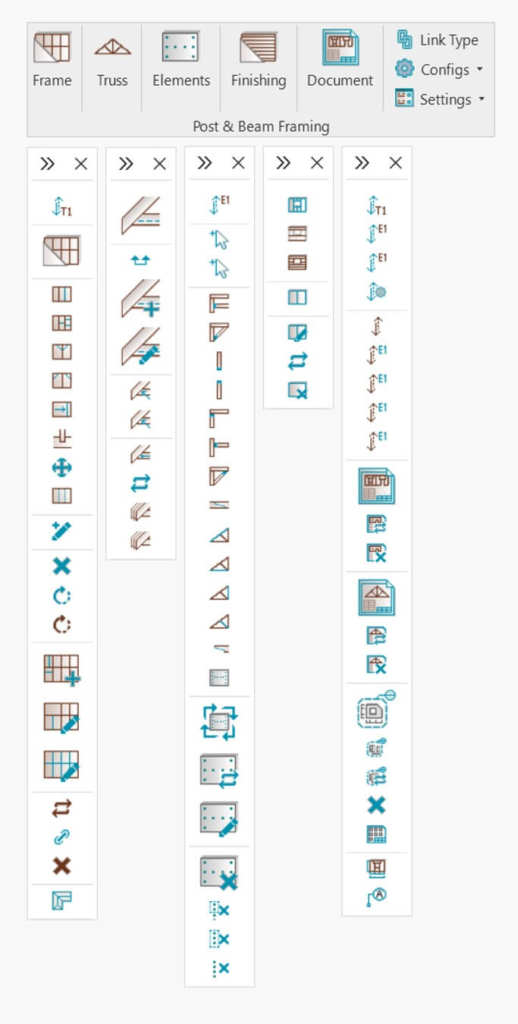
Let’s go through each of the eight top-level commands in the ribbon.
Frame
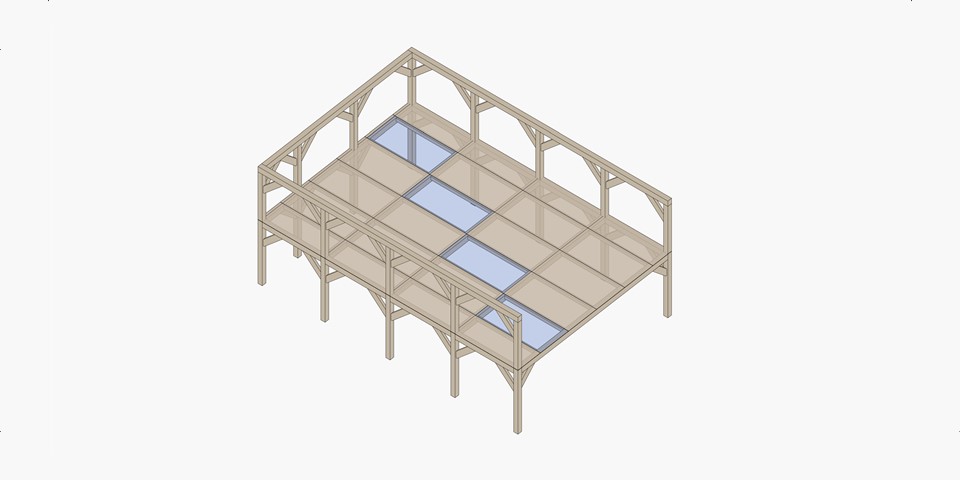
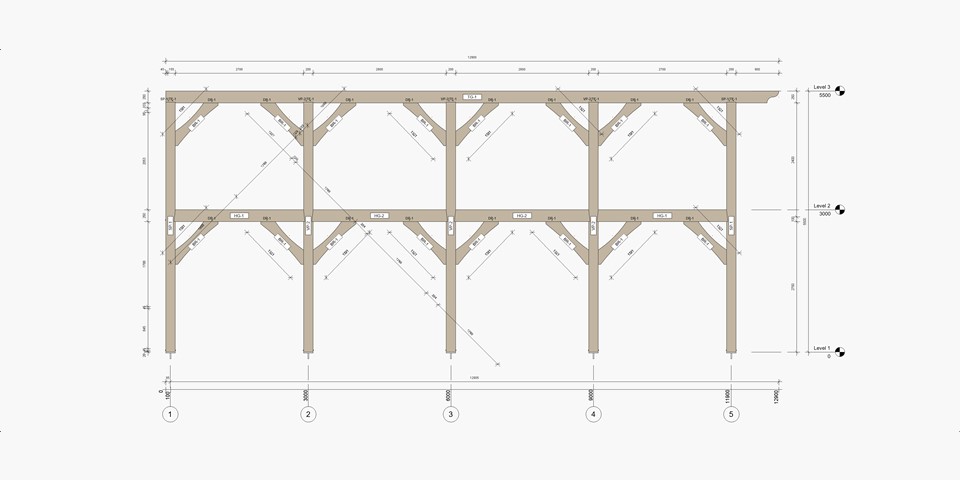
Here you have all the functionality needed for modeling a heavy timber structure. There are also commands for modifying the structure after it has been created, like adding additional elements or editing existing ones.
With the new interface, you can frame and modify wall, floor and roof structures using the same commands. (Contrast that with the old UI, in which commands were multiplied because you had to use Wall+ for Walls, Floor+ for Floors, etc.)
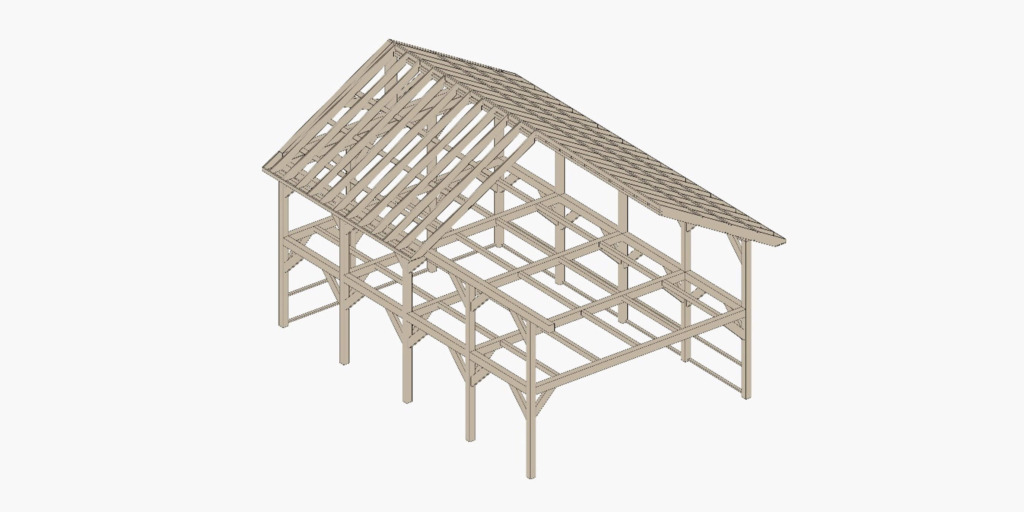
Functions in the Frame window have been condensed from the Wall+, Floor+ and Roof+ tools.
Truss
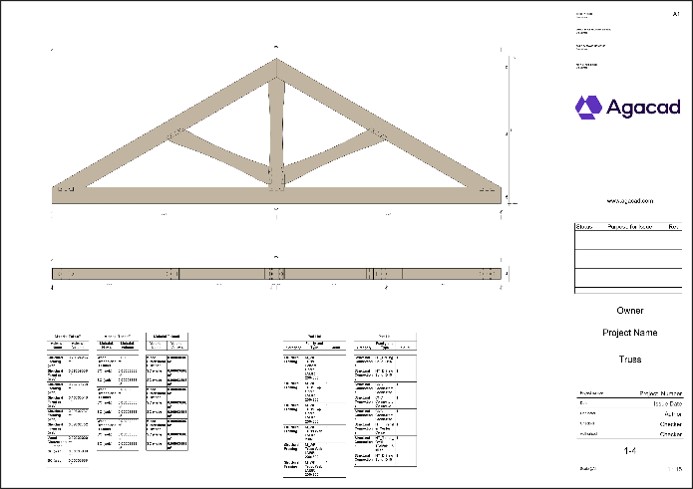
Just like in the Frame window, here you have all the functionality needed for modeling trusses.
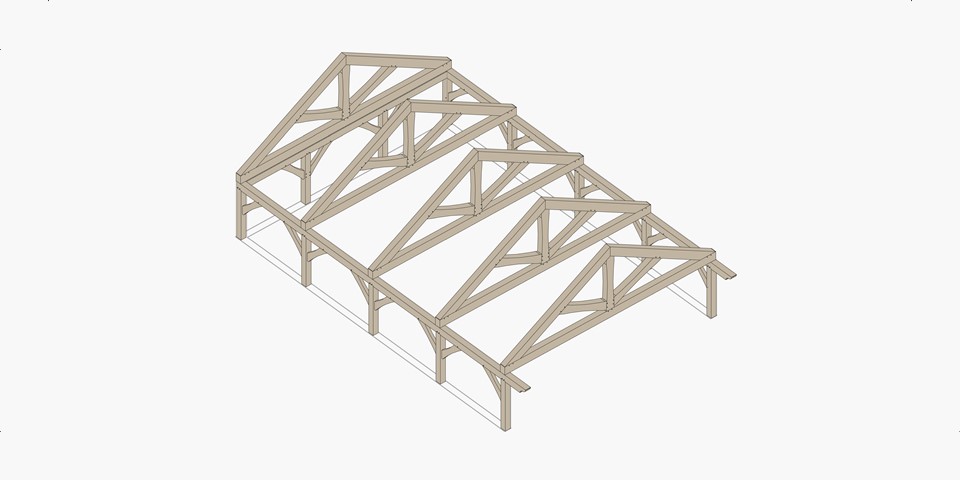
Functions in the Truss window were taken from the Truss+ tool.
Elements
In the Elements window, you have the functionality needed for creating connections common to heavy timber, such as mortise and tenon joints, lap joints, dovetails, etc. You can distribute them automatically using predefined custom rules based on your standards, and, if needed, modify them after they’ve been distributed.
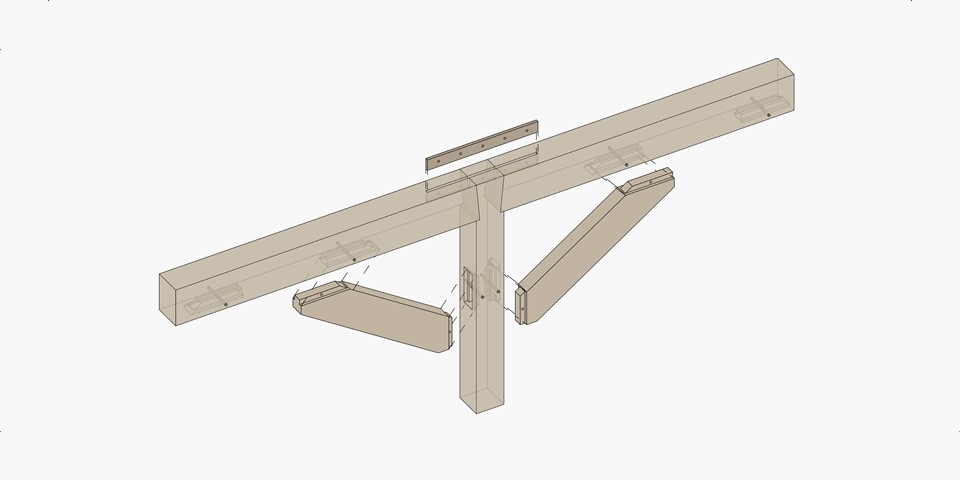
Most of the functions in the Elements window are taken from our Smart Connections add-on. A few are from the Wall+, Floor+ and Roof+ tools.
Finishing
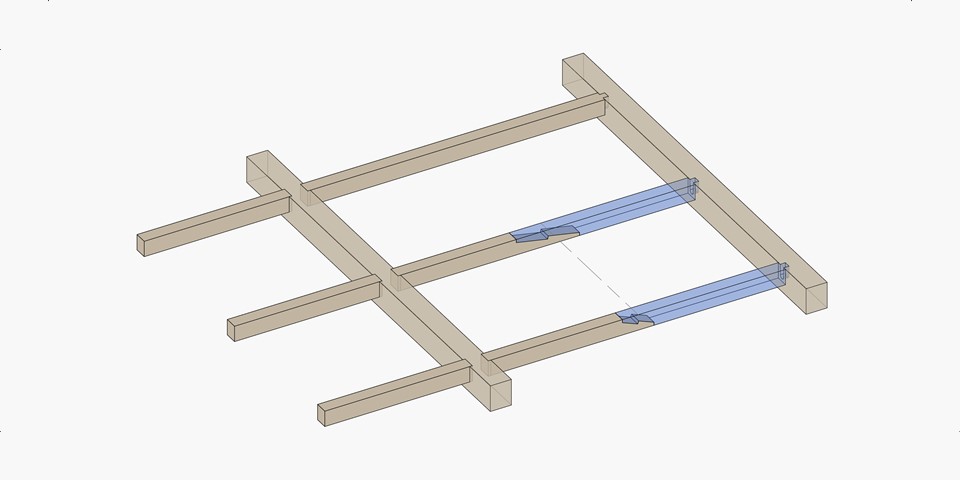
In the Finishing window, you can frame additional layers, like Secondary Frames and Nailers. You can also split parts to create sheathing and paneling layers.

Functions in the Finishing window come from the Wall+, Floor+ and Roof+ tools.
Document
Here you have the functions for numbering elements and creating shop drawings based on your predefined rules.
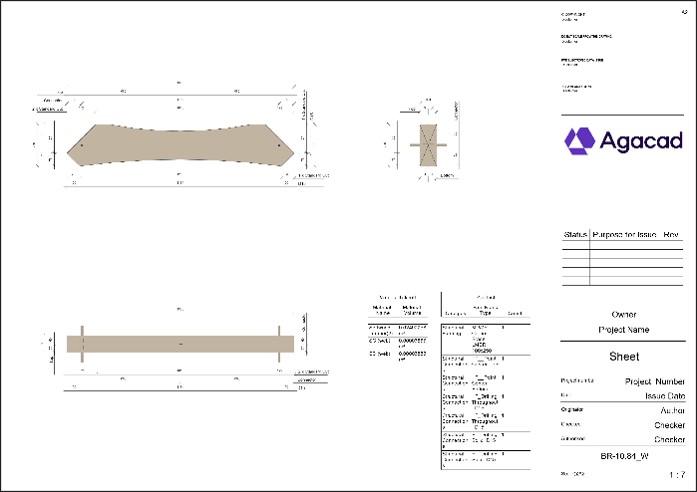
Most of the functions in the Document window come from our Smart Documentation Revit plug-in (also available independently).
Link Type
In the Link Type window, you can create links for all walls, floors and roofs.
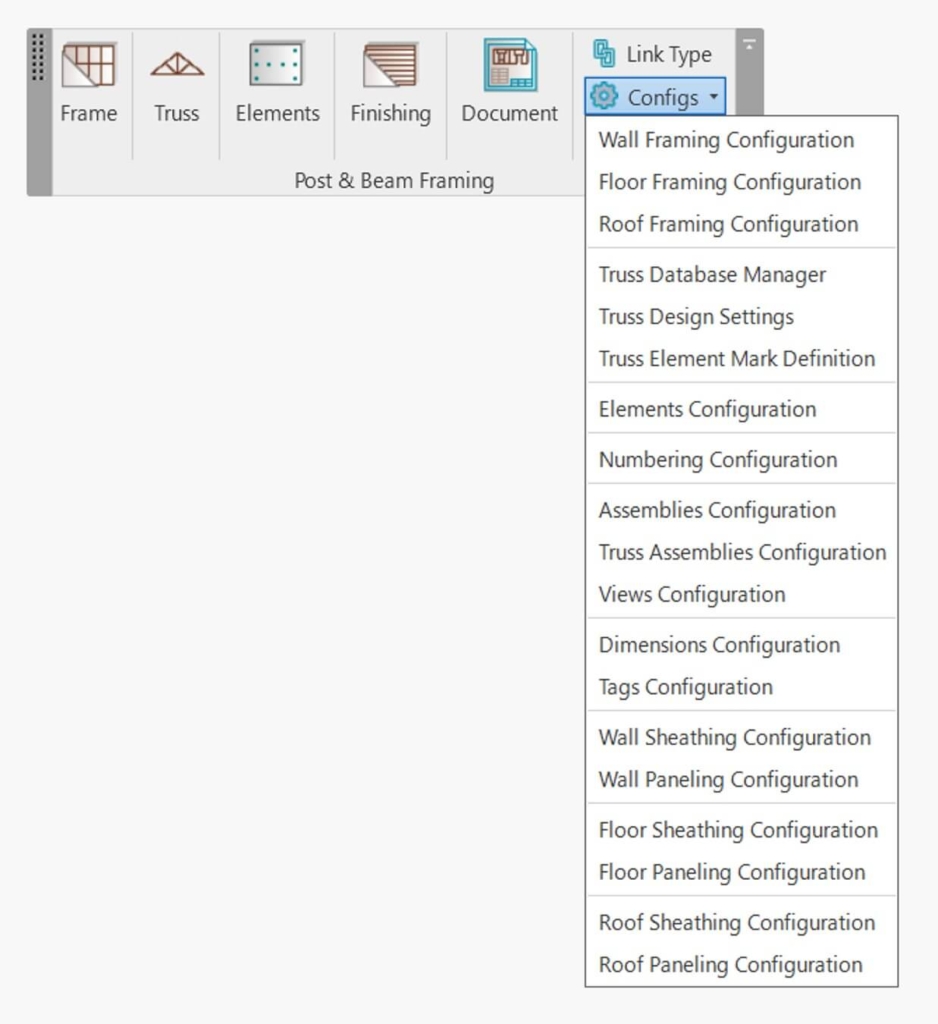
Configs
In the Configurations window, you can enter, create and modify all needed rules for modeling, numbering, dimensioning, etc.
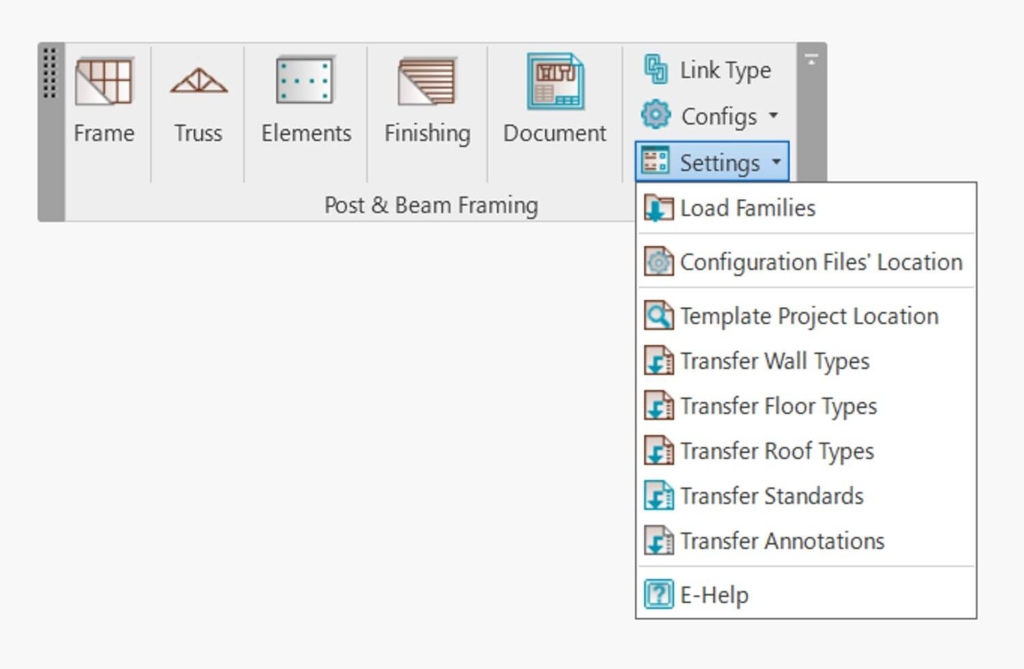
Settings
In the Settings window, you can automatically load all needed sample families – and your own custom families – for heavy timber post-frame structures. You can also browse configuration files’ locations and transfer element types and standards.
Design heavy timber at a whole new level
So, that’s an overview of the new software release of Post & Beam Framing. We’re confident it will help optimize your work and greatly reduce the time you have to spend on manual tasks. And we invite you to take a free trial of the software!