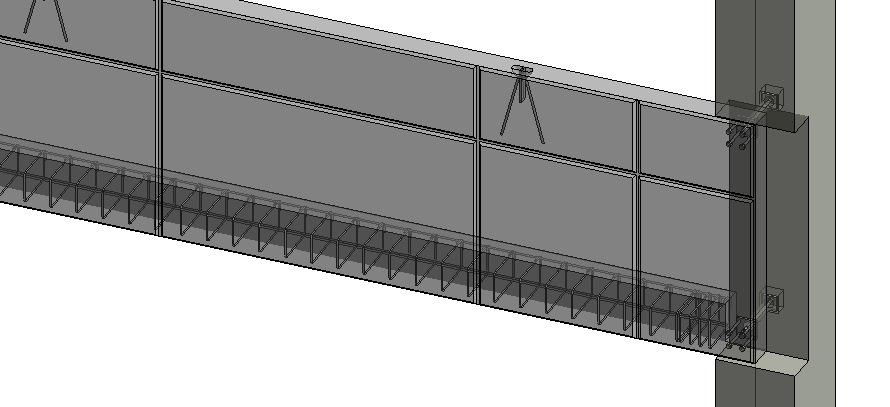
 Thanks to everyone who participated in our webinar last month that gave a basic overview of the workflow for using our Precast Concrete BIM Solution to design precast structures in Revit.
If you haven’t yet seen the full webinar or want to see it again, head over to our YouTube channel to watch it. While there, please subscribe to our channel!
Topics the webinar covered:
- Splitting Revit walls into wall panels, then sorting and numbering them
- Creating and laying out slabs
- Inserting details, connections, and cuts on slabs and wall panels
- Inserting connection details for columns – corbels, column shoes, bolts, etc.
- Inserting lifting anchors based on gravity point
- Inserting cuts, anchoring holes, connection details, plates, etc. into beams
- Updating and modifying connections
- Assigning mark values based on rules for any type of precast element
- Creating assemblies and shop drawings with automatic dimensions, scheduling, and sheets
- Automating dimensions in plans, elevations, and shop drawings

To make sure you never miss out on one of our videos – just follow these steps.
- Go to our YouTube channel.
- Hit the
 button. (Note that you need to be signed in to your Google/YouTube account.)
 - Click the little bell
 to get a notification whenever we publish a new video
Want to take a FREE TRIAL of Precast Concrete? All you need to do is:
- Download our TOOLS4BIM Dock (below) that matches your Revit® version
- Open Revit®
- In the newly-installed TOOLS4BIM Dock, select to trial Precast Concrete
- Activation code will be sent to you via email
- Enter the activation code
- Trial away!


