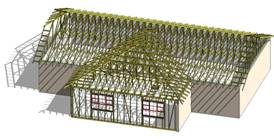
 While developing our solution for truss modelling in Autodesk® Revit® Truss+ RT we have come up with some fixes that let users use the solution more stably. There were some issues with Revit® 2014, especially with metal trusses due to Revit’s limitations to minimum lengths.
We’ve found that with certain conditions faces of Revit® families reach the minimum length of 1/32 in. (0.8 mm) allowable by Autodesk® Revit® and cause families to collapse. We’ve done a workaround and put the entire package to the Update to avoid this issue.
We’ve updated Revit® truss families and Truss+ RT itself. For stable use of it, use the new Revit® trusses that come with new Truss+ RT update ONLY.
Important:
Projects modelled with Truss+ RT 2014.1 (2013.1) where older truss families were used, might cause problems working with the new updated version of Truss+ RT 2014.2 (2013.2). To avoid any unexpected results please begin your tests/trials/projects* with new project templates and load new truss families with function – “Load Truss Types” or insert new Trusses from new demo project with function – “Insert Truss by…..“. You can also put truss in your current project directly from demo or another opened file using multiple projects browsing capabilities implemented into Truss+ RT.
If you want to use new trusses in projects already in progress, please take these steps:
- Delete old (v2013.1, v2014.1) families (look for list of families to delete below) in Revit® project browser.
- Load new trusses using Load Truss Types function in updated Truss+ RT.
- Remodel your trusses.


