Design of structural trusses is nothing without structural analysis. So this article will explain how to transfer your Truss+ project to RSA for structural analysis of trusses.
Truss+ is designed to be interoperable with Robot Structural Analysis®.
As there were some problems with the use of structural truss families of Revit, Truss+ uses structural framing instead. As the problems are solved with Revit 2014, upcoming versions of Truss+ will use Structural Truss families. It will make the transfer much easier. That is yet to come, so for now I will explain how to make a simple transfer with the current version of Truss+.
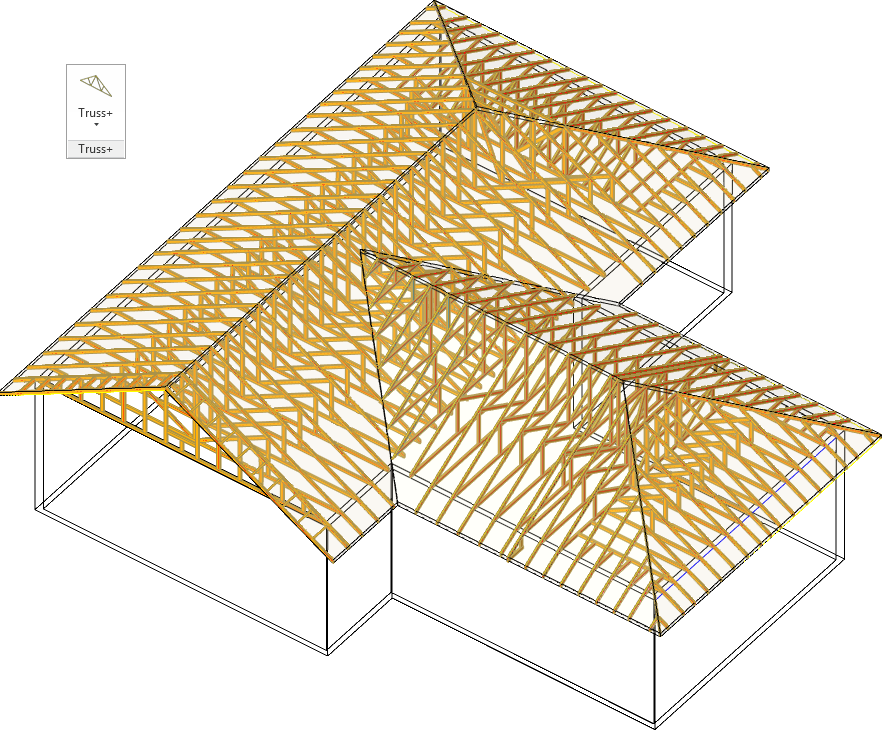
As building truss system is created, such as shown below:
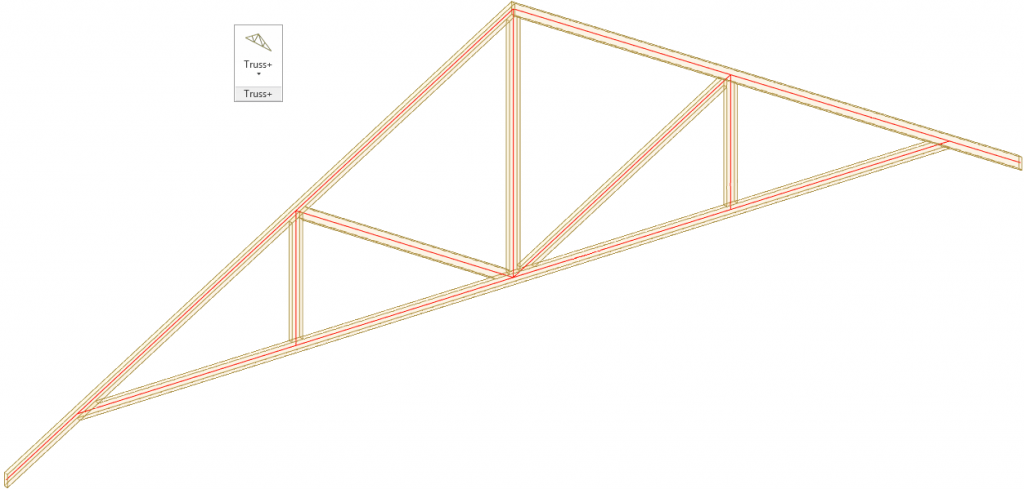
Truss+ trusses have built in stick symbols in to them. Red lines correspond to analytical lines of the structure:
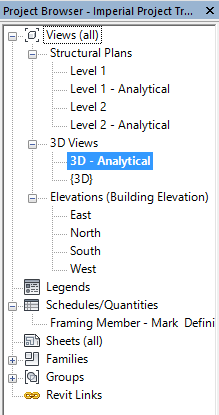
Let’s create new 3D view in Revit Project and name it 3D – analytical or the one you prefer.
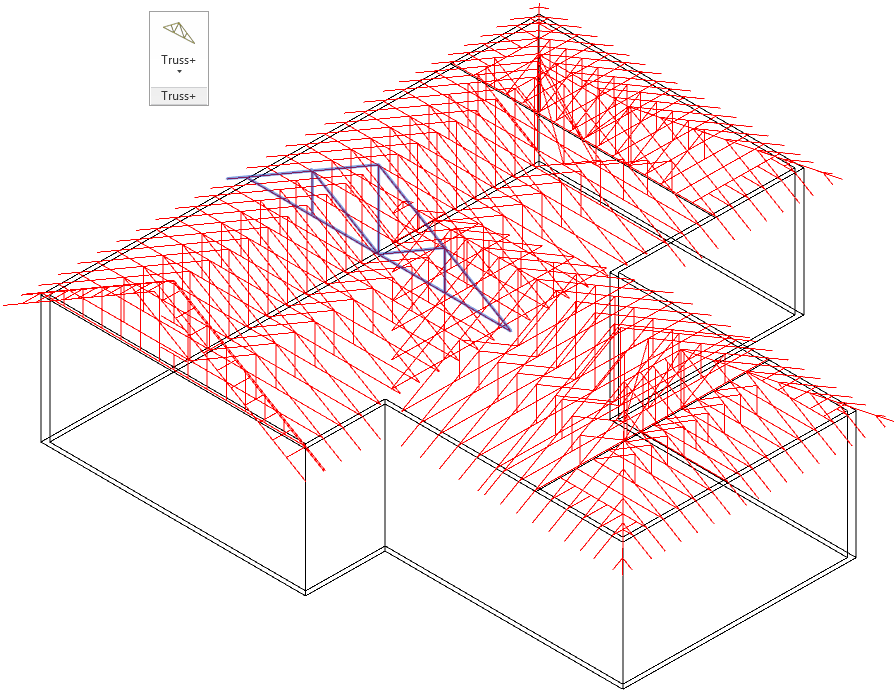
Modify the visibility so that only objects we want to transfer would be visible. In Visibility/Graphics Override properties of the view I checked only these. All other check boxes should be unselected. The view should look like this:
Now the view should be exported as *.dxf file. Press R symbol > Export > CAD Formats > DXF. In an opened window press Next and save it by the name you prefer.
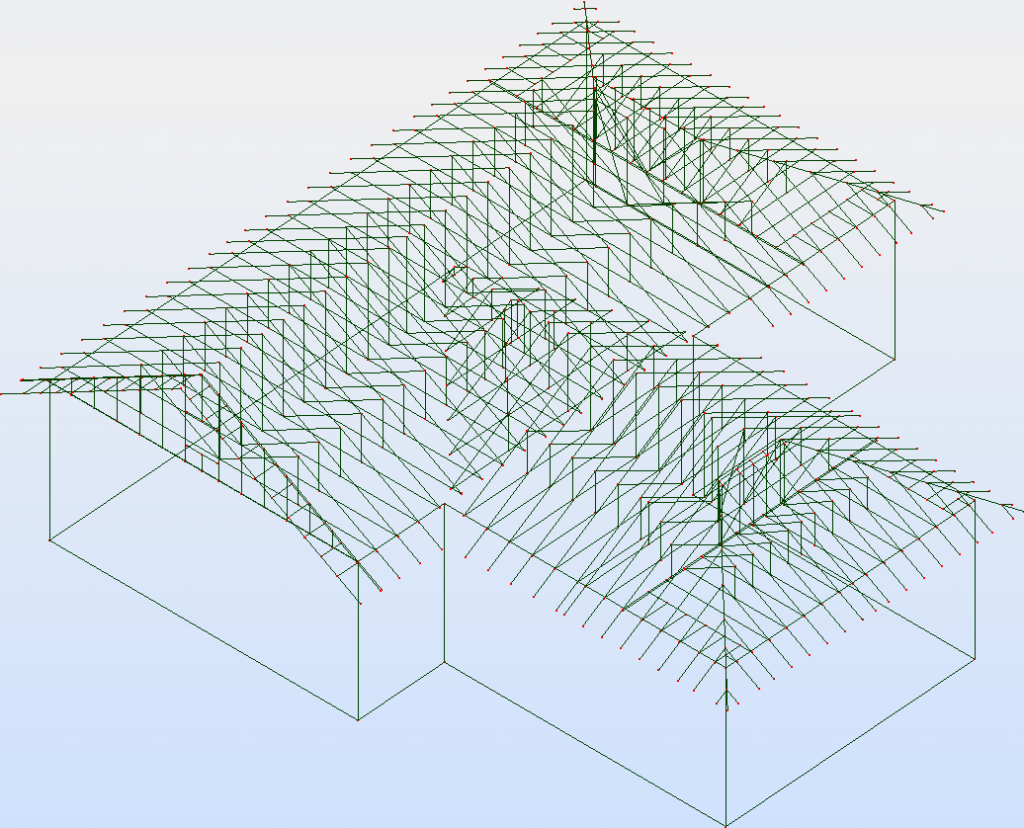
Open RSA, press Open Project and select Files of type DXF, now you can open your project.
We’ve got bars for system for structural analysis. Now you should configure the system so all the members would be modelled correctly for RSA, sections of the bars should be defined by selected standards, loads put on the members, bearing points defined and analysis carried out.
After you design the system you can easily import it back to Revit with Revit to RSA link.
If you have any other questions related to Truss+ or our other BIM solutions don’t hesitate to contact us and we will be happy to answer them.

