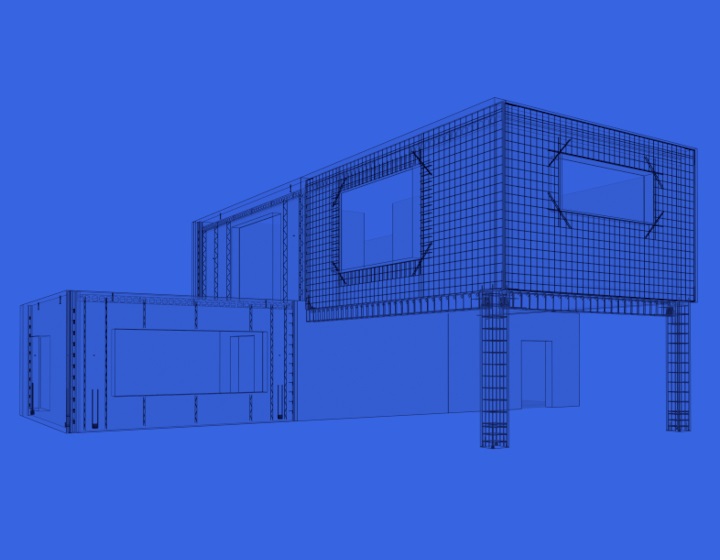
Last week I posted about how to insert shoes for precast concrete columns from ProdLib libraries efficiently in Revit. Again, shout-outs to ProdLib for their great BIM content libraries and to Peikko for making their structural connections for precast concrete available for us designers to use in Revit.
This week I show how you can manually place Peikko lifting anchors and make modifications VERSUS how you can place them and change parameters automatically using our Precast Concrete BIM design software. Hope you will find this useful!
- Load lifting family from ProdLib.
- If the Revit family doesn’t snap to the wall face, just modify it using the Family Editor.
- Change category.
- Let’s place manually and change some parameters.
- Let’s automate the detail insertion process! Use the Smart Connections tool that’s part of our Precast Concrete BIM software.
- Create a new configuration to place lifting families relative to the center of gravity.
- Repeat on the side of the wall.
- Apply the configuration to all walls.
- Modify the configuration so that details on the wall edge will be oriented correctly…
- Update All…
- Presto! All details are inserted based on wall shape and size. For future walls, just run the configuration to insert all those lifting anchors with just one click.


