
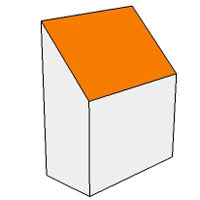
 Many Revit users are looking for a technique to create different shapes of roof with ease. Today I’ll present a step-by-step explanation of how to insert mono pitch truss follows like this:
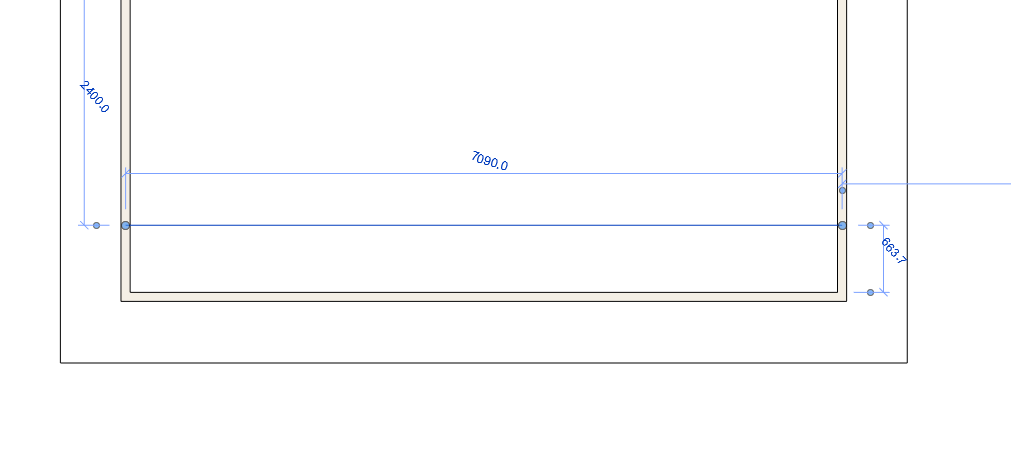
1. First of all, you need to draw the model line on the top level of your wall. Model line ends represent the centre of your heel members of truss. Heel member centers will be the centre of the wall as shown in the picture below. The direction you draw the line is also important. You should draw the line starting from a lower part of the roof (by slope) to a higher part of the roof.
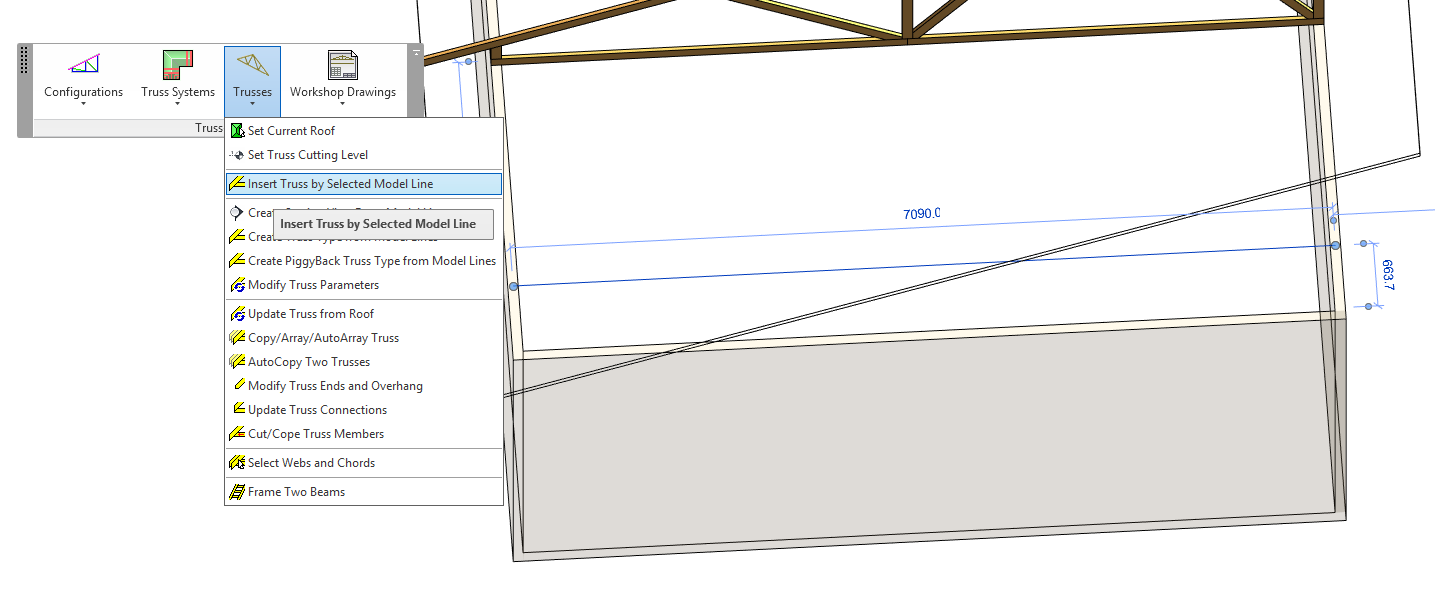
2. Then select this model line and go to BIM solution Truss+ RT Trusses menu category > Insert Truss by Selected Model Line.
3. Then select the required truss from truss database and press OK. Don’t forget to select type of truss (metal or wood) on the left.

4. Then it will ask you to pick the roof (one time only if you work on the same roof later). Press OK and select the roof anywhere.

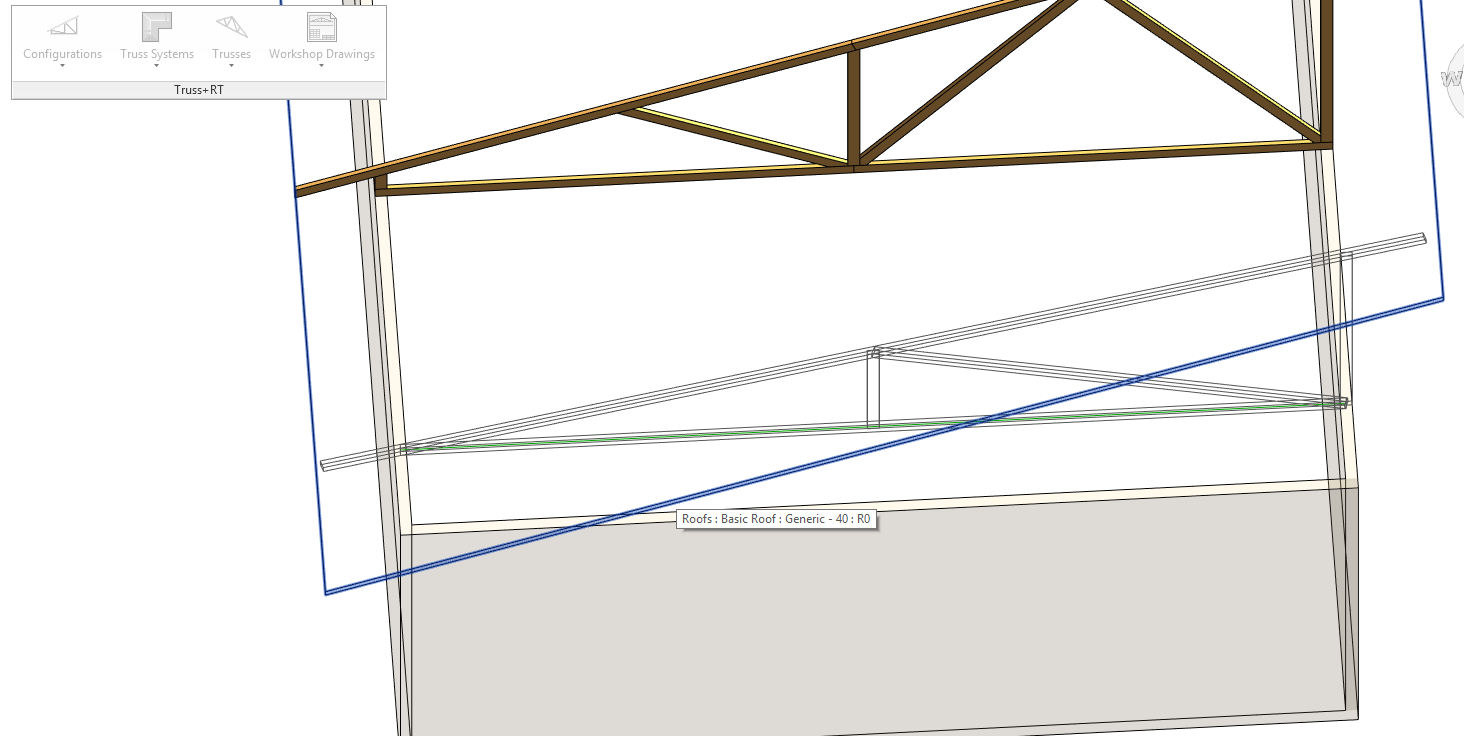
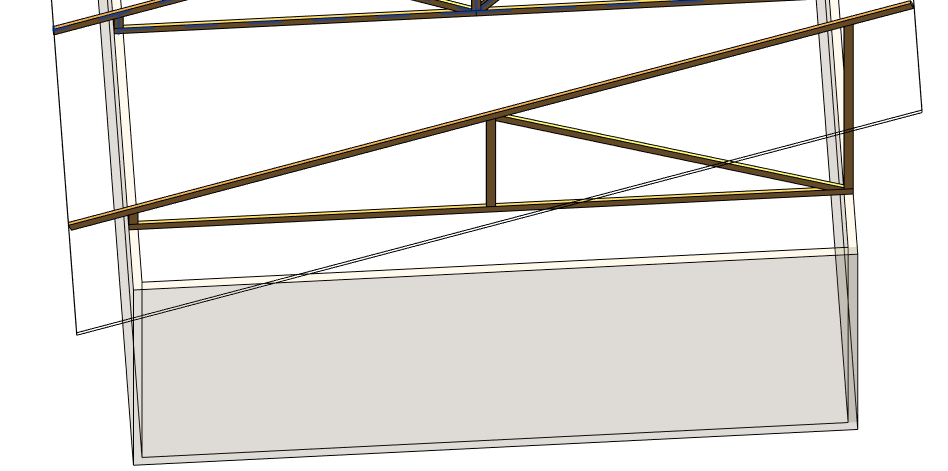
5. Truss will be updated automatically.
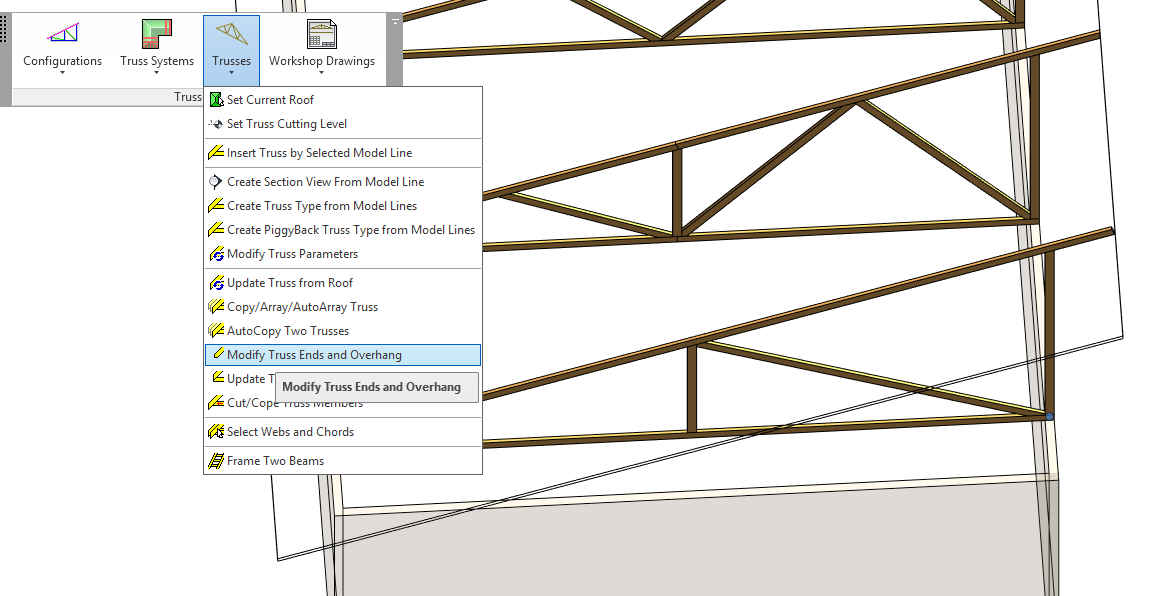
If you need to change end cuts or modify overhang, go to Truss+ RT category Trusses > Modify Truss Ends and Overhang to change these parameters.
If you need any other information, please contact us at support@aga-cad.com.


