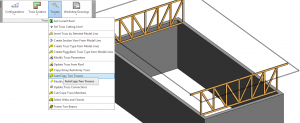
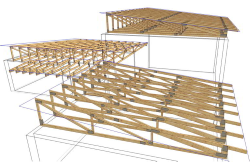
 There are situations when you need to insert flat trusses in your project. That might be necessary in various situations. Looking at it conceptually, flat trusses are common trusses with zero slope angle and higher heel height.
It is easy to add them in your Autodesk® Revit® project using Truss+ RT solution. This explanation also works the same with sloped flat roof, but you should use different truss types for that. For example, mono pitch trusses.
To make flat truss you should take these steps:
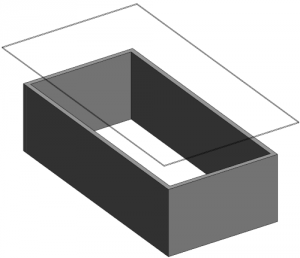
1. Make a flat Revit roof, it might be made smaller if you need and lower offset that corresponds to heel height of the truss. It is 600mm in this particular picture.
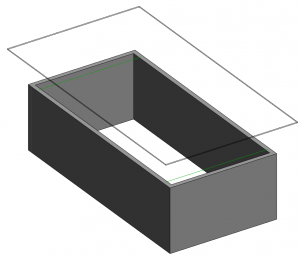
2. Then draw two model lines at the ends. They can be positioned everywhere you like under the roof. One condition only – you will be able to copy/array the trusses automatically these lines must be aligned.
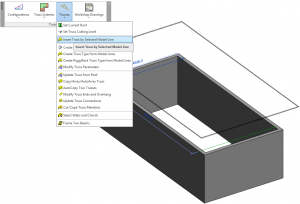
3. Then select one of these and use the insert by model line function.
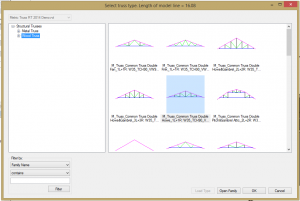
4. Select a preferred truss from the list. I’ve selected wood howe truss and inserted it to the project (do that on both sides):
5. Using Ctrl button select both trusses and use AutoCopy Two Trusses to copy them to fill the middle part of the roof.
That is it. This is an example that Truss+ RT is a good helper creating flat truss framing.
If you have any questions, please write to us at support@aga-cad.com.

