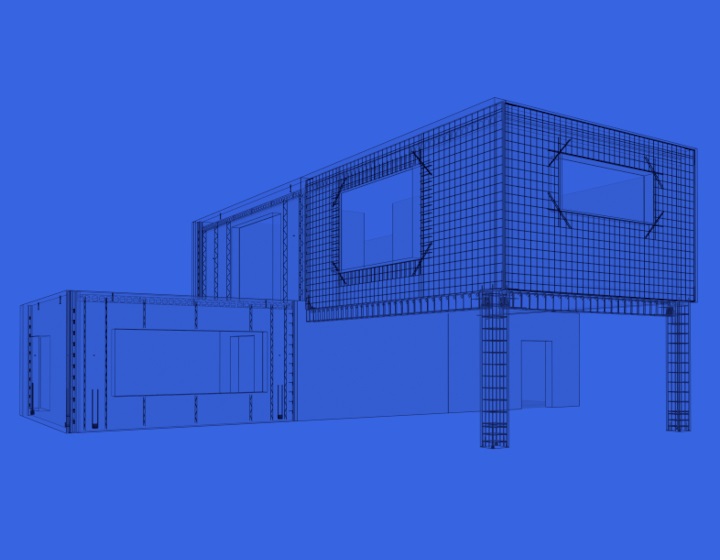
We recently released a new feature for our Precast Concrete design software that automates column rebar placement in Revit. The Column Reinforcement tool makes it efficient to model main rebar, stirrups, and corbel rebar, a task that structural engineers and precast modelers have to spend hours on if they’re stuck doing it manually.
Here’s the basic workflow for using Column Reinforcement.
1. Configuration
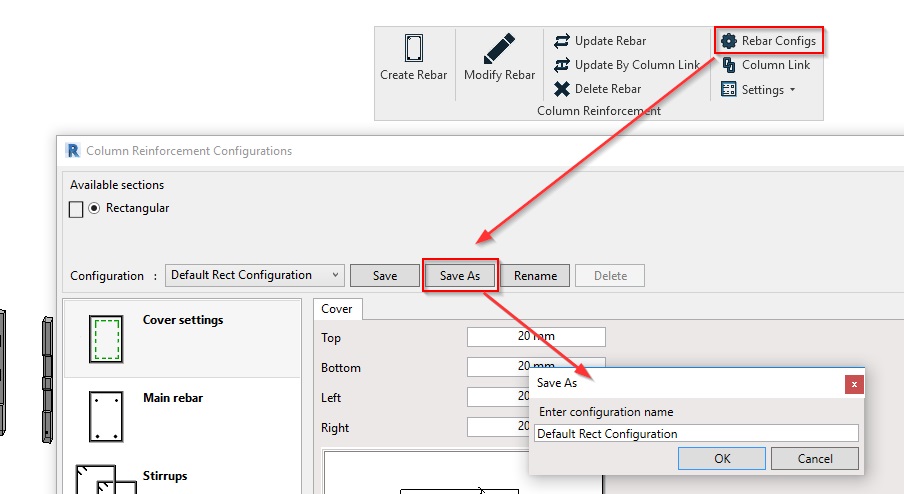
Open configuration window of Column reinforcement and create new configuration.
2. Cover settings
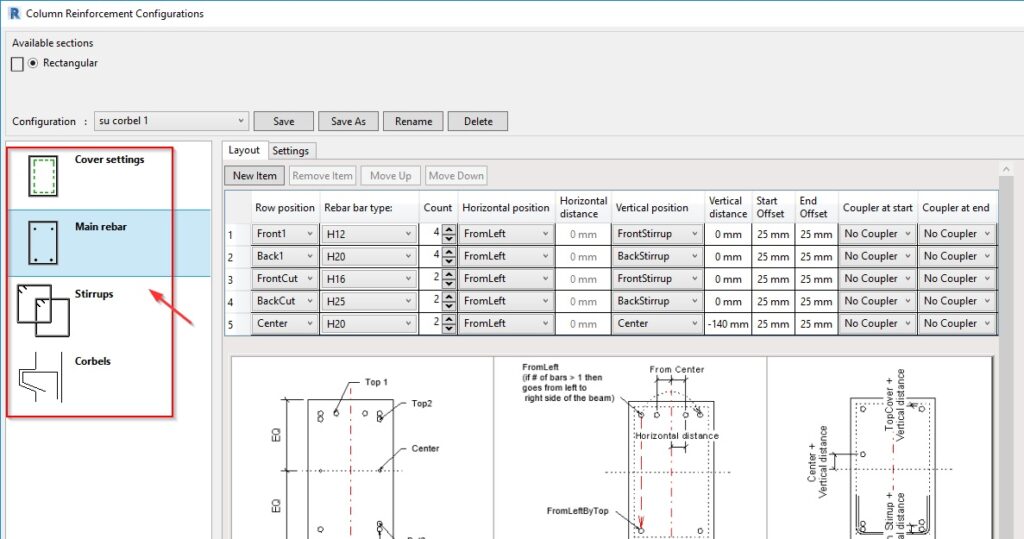
Enter cover settings for column, main reinforcement, and stirrup layout.
3. Add families
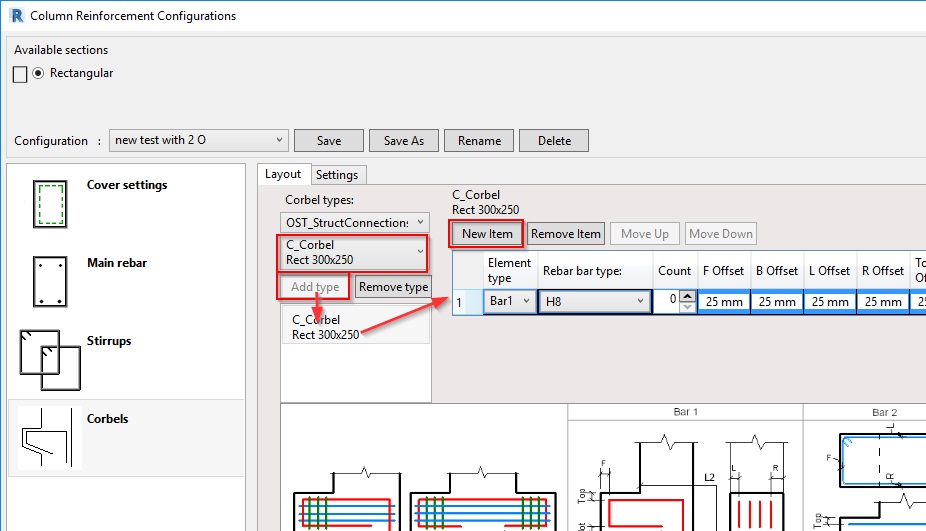
To create reinforcement settings for corbels, you need to have Families of corbels hosted on structural columns. Add those Families to the configuration window and define rebars that should be created.
The underside of corbels may be slanted or orthogonal. You can use Families provided in our Column Reinforcement sample project.
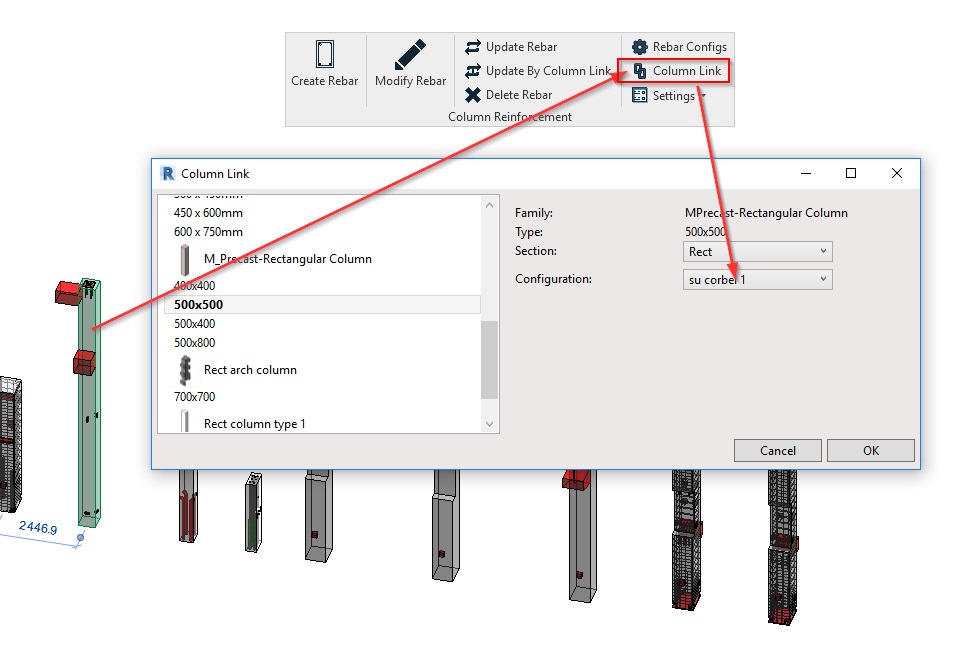
4. Column link
Save and close the configuration, and then open Column Link. Select Structural Column Types and link configuration to those Types.
5. Create rebar
Select Structural Columns and hit Create Rebar. Software will read which configuration should be used for that column (via Column Link) and create reinforcement for all selected columns. It will find hosted Families which you indicated to be corbels and will place rebar if all conditions are met.
All your configurations are stored in the defined project location, so you just need to create them once, and later you can use them in other projects or share with colleagues.


