It can be hard, time-consuming work to make a selection and insertion of repetitive elements. For example, there is a need to put radiators by windows in the project, selecting radiators by room heating load. In practice, it could take hours. However, this problem can be easily solved with a few step workflow using R-Heating the BIM solution for Revit®.
This article covers radiator family creation by specific manufacturer characteristics using R-Heating application.
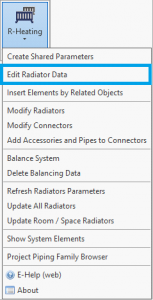
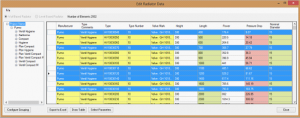
First of all, please open the Revit® extension R-Heating in a project menu and press the function Edit Radiator Data:
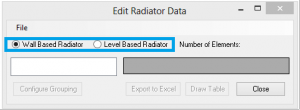
Then in an opened dialog box you need to select the type of radiator you want to insert. You can choose Wall Based Radiator or Level Based Radiator:
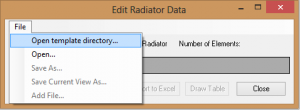
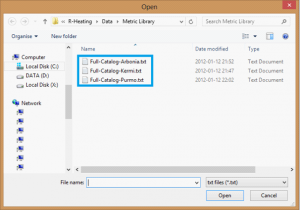
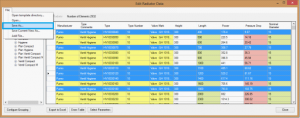
Press File > Open template directory and choose the catalogue of radiators you want to use and press Load:
Select Radiator types from the list and press File > Save As:
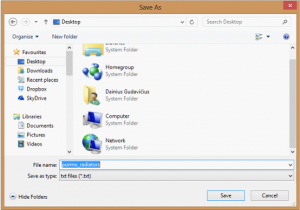
Then find preferred path to put radiators in and define Family name (purmo_radiators in this example). Press Save:
Finally, there are created two files that are a radiator family (purmo_radiators.rfa in this example) and radiator type *.txt. file (purmo_radiators.txt):
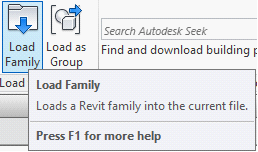
Now you can load the family and its types using the Revit® Insert > Load Family function:
In conclusion, AGA CAD BIM solution R-Heating greatly improves building MEP design by automating time consuming tasks. This increases organizations BIM ROI and fluently incorporates into designers’ everyday workflow.
Have questions that weren’t answered here? You can contact us here. Thanks!

