The efficiency of structural engineer’s work has always been prior to the material efficiency of the design he does. There is a turning point where the priorities change.
That is when efficiency of work becomes irrelevant comparing to the design decision efficiency. The main problem is a repetitive work that consumes most of project time and does not add any value. For example, drafting, difficult calculations, etc. Process of design should be cut down to a two-step process:
Going to the main topic about what I want to speak today I would like to point out that a Truss+ add-on for Autodesk® Revit® is built in this manner. This BIM solution is developed so that engineer would only take to consider the design make adjustments to it and frame the roof. There’s still a lot work to full automation though that is a huge leap forward. It is so big that the efficiency of work becomes irrelevant comparing to the material use efficiency in a design.
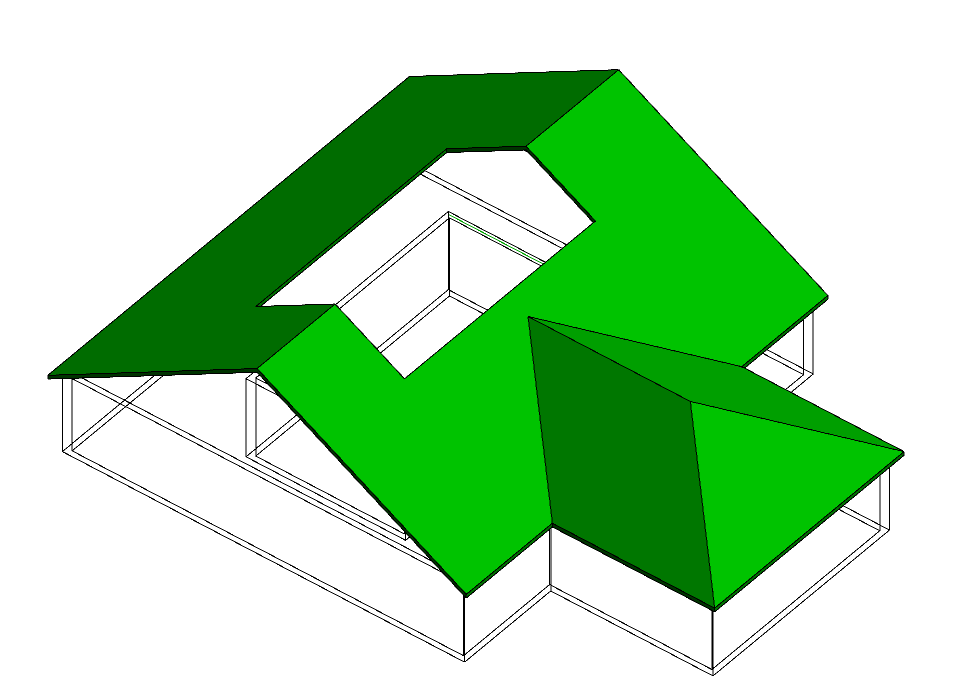
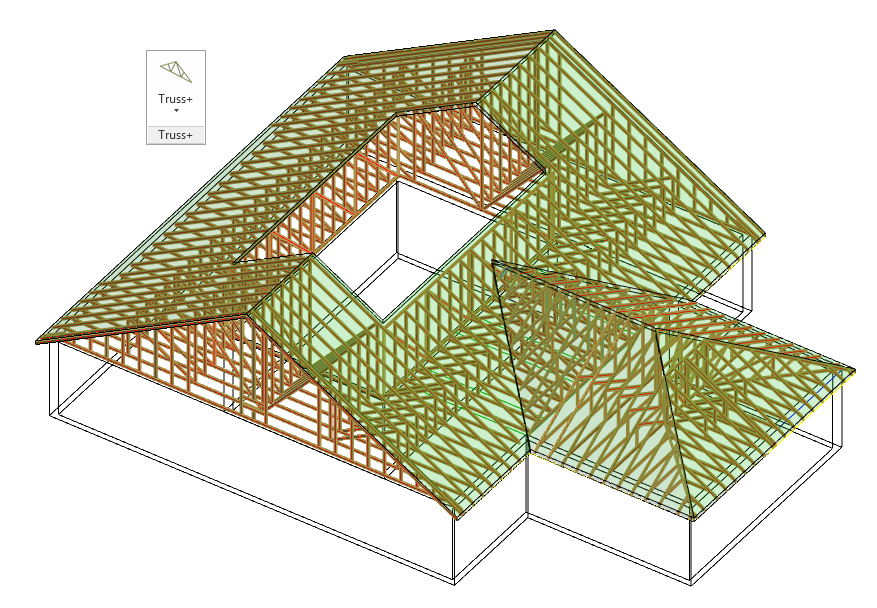
For example, I would like to show two design solutions and compare them by material use and decide which I should go with. So firstly, let’s create a basic roof design such as this one:
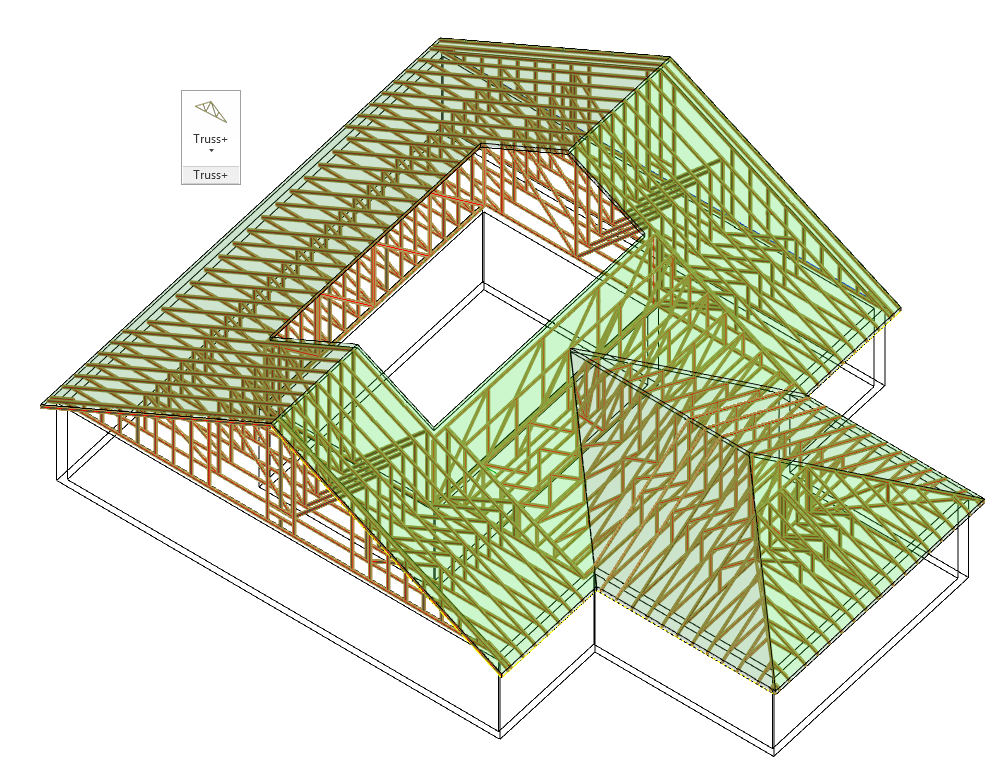
The next step is to make some designs of truss systems using Truss+. It took half an hour to make a design of all truss system. Revit automatically calculated quantities of truss members. Here we go:
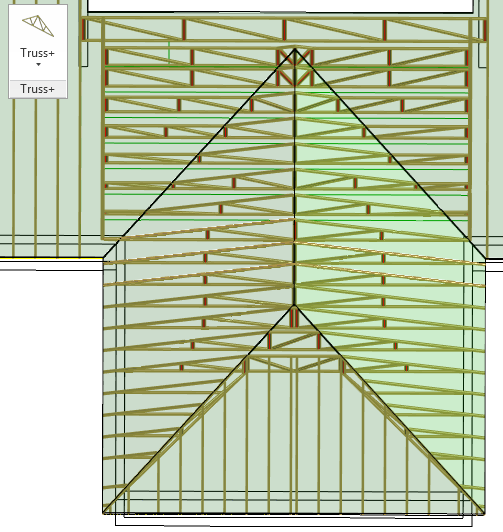
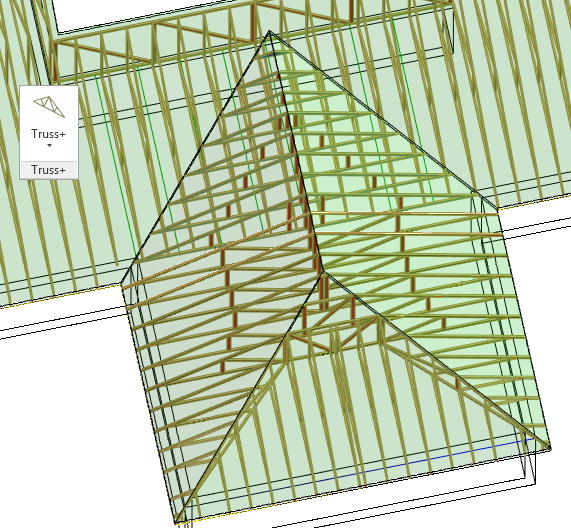
The front part of the roof can be done in two different ways. First one is this:
After calculating all truss members I’ve got the total:
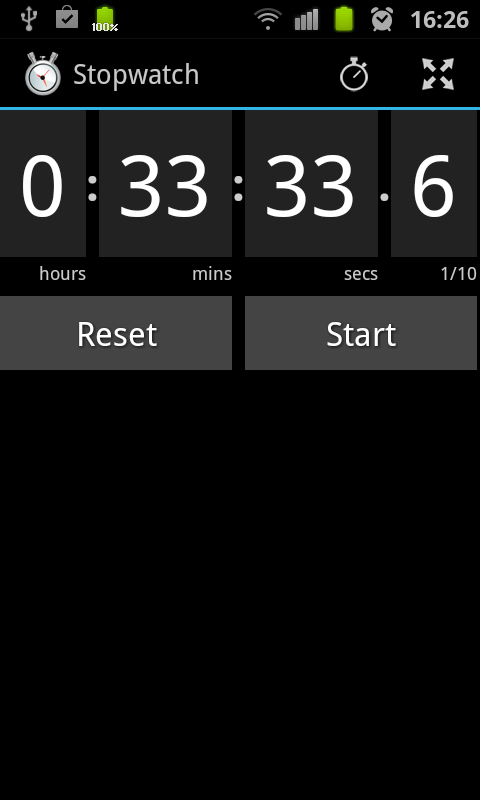
And it took some 30 minutes to make the design:
After creating the first truss system, there’s an idea to change a design a little bit:
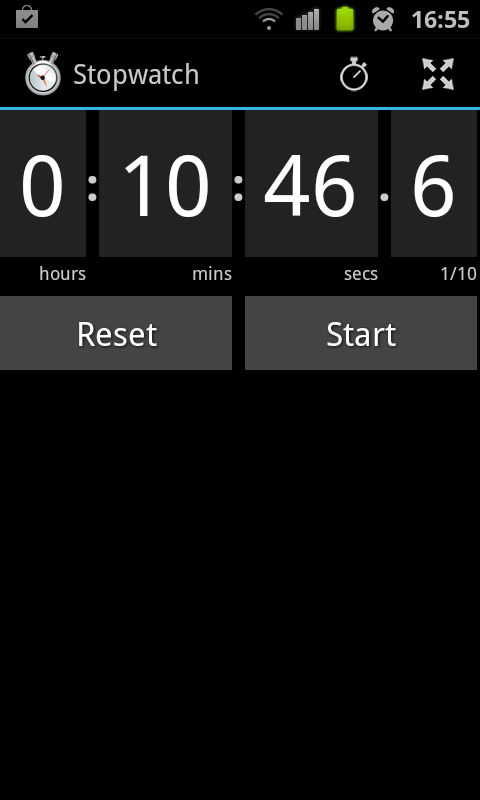
The adjustments took some 10 minutes to make:
And the Totals show this:
So after making some adjustments to the truss system we get 0.05m3 savings of wood. This is not very much but it makes a design a little bit greener. In more complex designs savings would be much bigger. Taking in to account that it took only ten minutes to make the adjustments it was completely worthwhile.
Construction is one of the sectors which produce most waste, so there’s a great need to make it greener and economically efficient. Technology is progressing and new methods arise to make that possible. This solution greatly incorporates into the lean workflow.
We develop our tools with that in mind. If you want to know more about that, don’t hesitate to contact us. Check our blog for more workflows and www.aga-cad.com for more information about our tools.

