The headache I will talk about today is known to all MEP engineers. Calculation, selection and distribution of radiators in rooms become a huge hardship as the projects get bigger. Not to mention the comparability possibilities of radiators. When calculations are done and selections are made, designer sticks to on manufacturer and only few radiator models which usually exceed the design requirements by 5 to sometimes 20-30 percent. That is a huge waste of money and comfort. So that is why R-Heating application for Autodesk® Revit® is here to help you.
R-Heating BIM software is a very useful tool set for work with radiators in Revit® project. It allows engineers to do all required design decisions in one place. R-Heating has built-in decision support module with optimization and radiator family generation capabilities by different manufacturers. It also has automatic radiator family distribution by definable rules function, connection type selection, pressure drop calculation, and many more useful functions. That allows users to automate calculations, select different types of radiators and select them by different manufacturers if that is cost worthy. That makes process very lean and quick.
In this tutorial I will explain how the selection of radiators for different spaces by heating demand takes place. I’ll put them related to windows by defined rules.
You should read the first article about R-Heating in which creation of radiator families is laid out as this is the continuation of it.
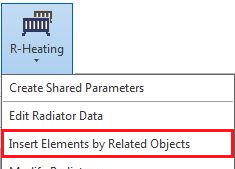
As the radiator families are created and loaded in the project press Insert Elements by Related Objects in R-Heating menu.
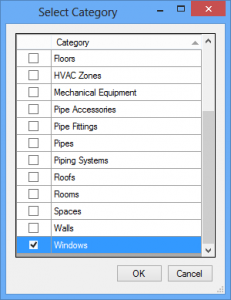
When the dialog box pops out, select Windows.
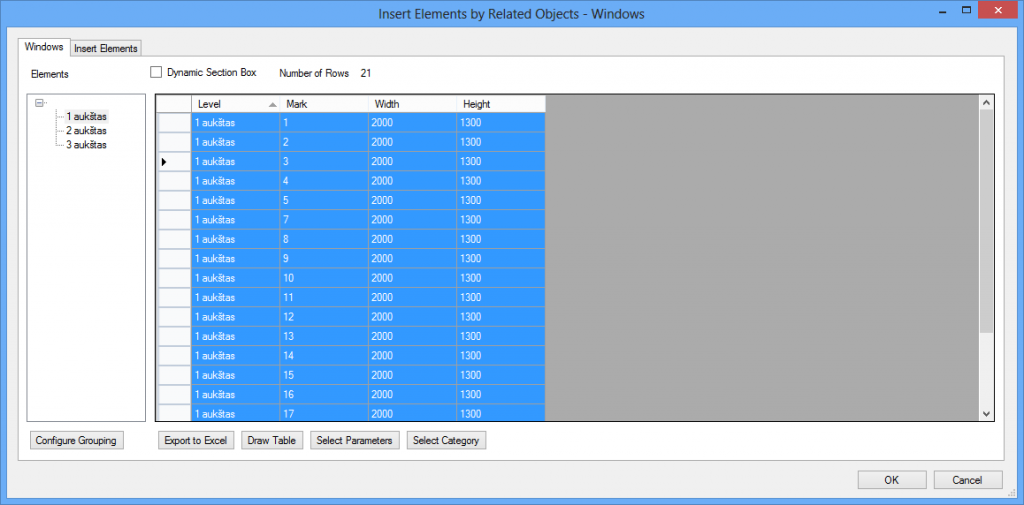
In the next dialog box all placed windows are shown. Use Select parameters to add Width and Height parameters to the distinguish windows (select ones you want to insert radiators under). I have selected all windows on the first floor.
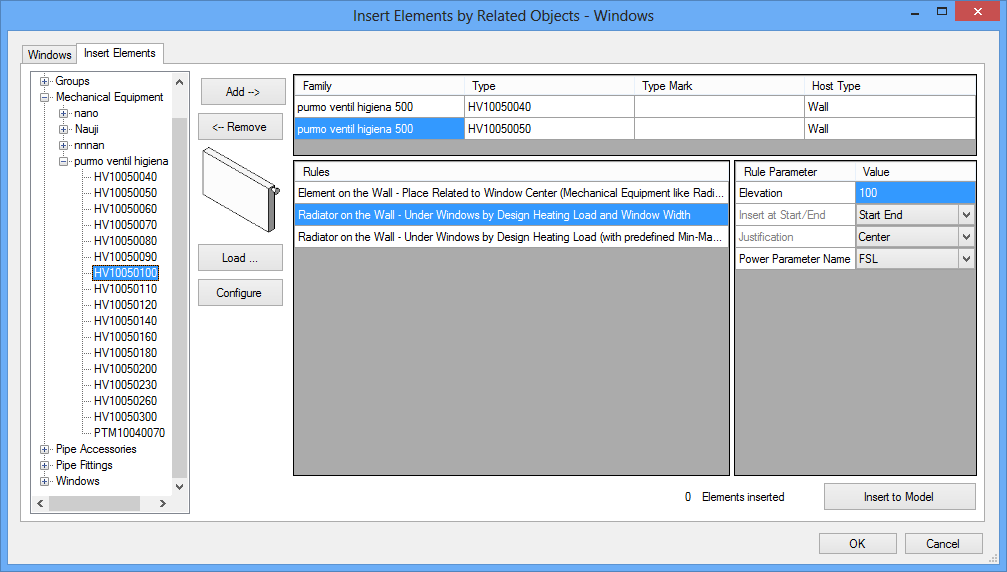
Next go to the Insert Element tab and add radiators which you want to use, select the rule and modify.
Press Insert to Model
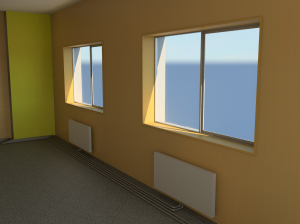
R-Heating inserted radiators and configured them by design heating load.
That is easy!
To find out what other possibilities R-Heating and other BIM solutions and extensions offer check this blog periodically. If you cannot wait, contact us here and we will be more than happy to answer questions or even show how they work in a live meeting.
Thank you.

