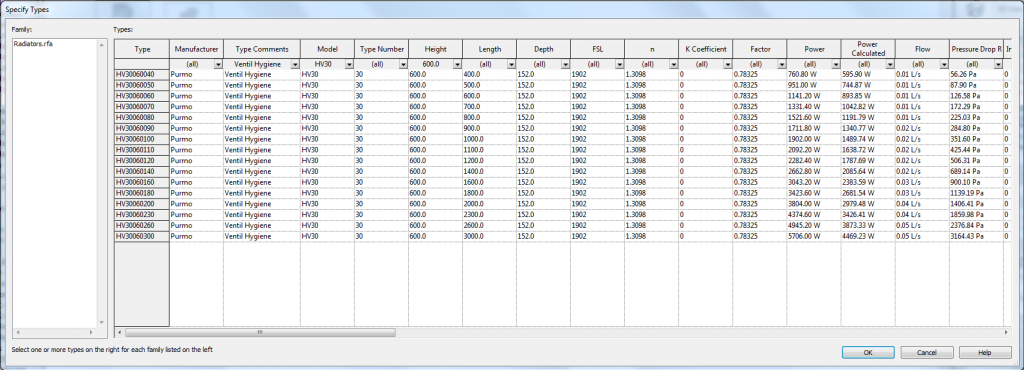
If you want to place different radiators into spaces according to calculated heating load automatically, you have to insert different types of radiators into the project that have different properties. You can read the article Easy Radiator Family Creation with R-Heating Application how to insert different radiators families into the project using BIM solution for Revit® R-Heating. After you insert these families from the .txt file, you will get such a dialog block where you have to indicate what kind of families you will need in the project:

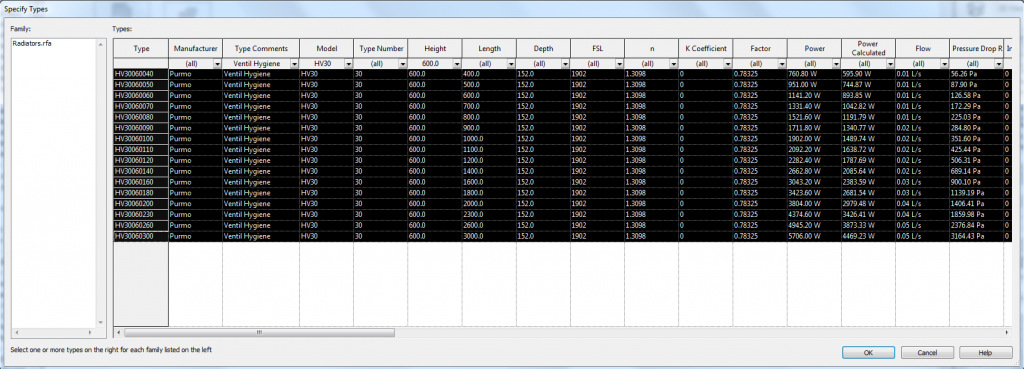
If you click OK, only one family will be loaded into the project; so you have to indicate the families by clicking them:

Now only marked (black) families will be loaded into the project.
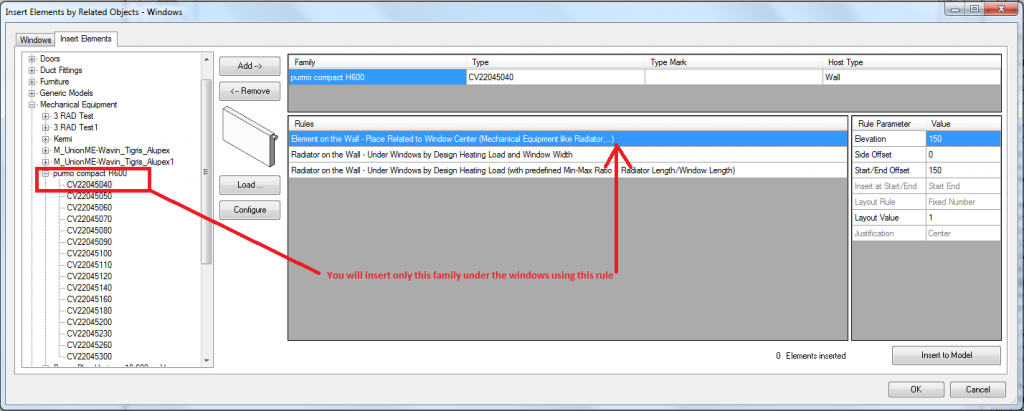
Then if you choose the insertion of the radiator under the window using the first rule, that identifies only the window center and the radiator type, you will get placed only that sort of radiators that you clicked on:
Here you should have several families (several radiator types) to place the radiator under the windows according to heating load. So, you should use the rule “Radiator on the Wall – Under Windows by Design Heating Load and Window Width”.
So using R-Heating you can work smarter and increase your work productivity. Try this solution and create heating system with ease.


